USING THE RIBCAGE’S NATIVE
C-MOUNT FOR MICROSCOPES
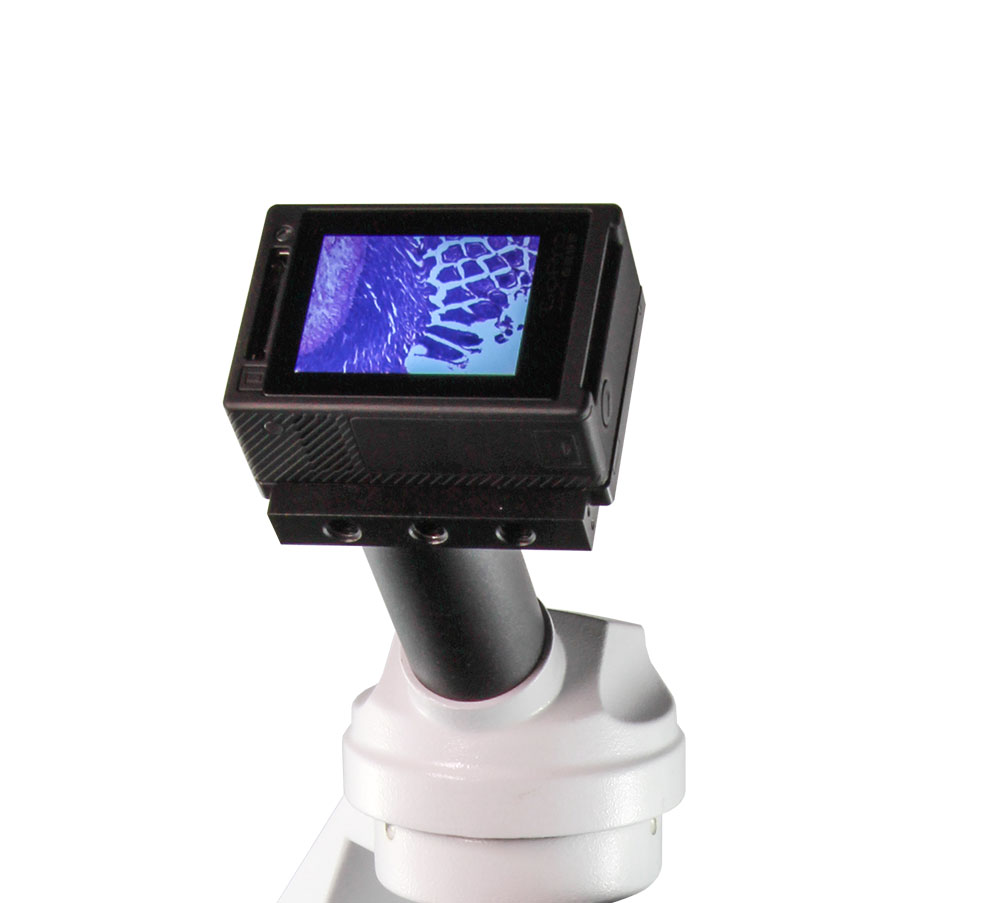
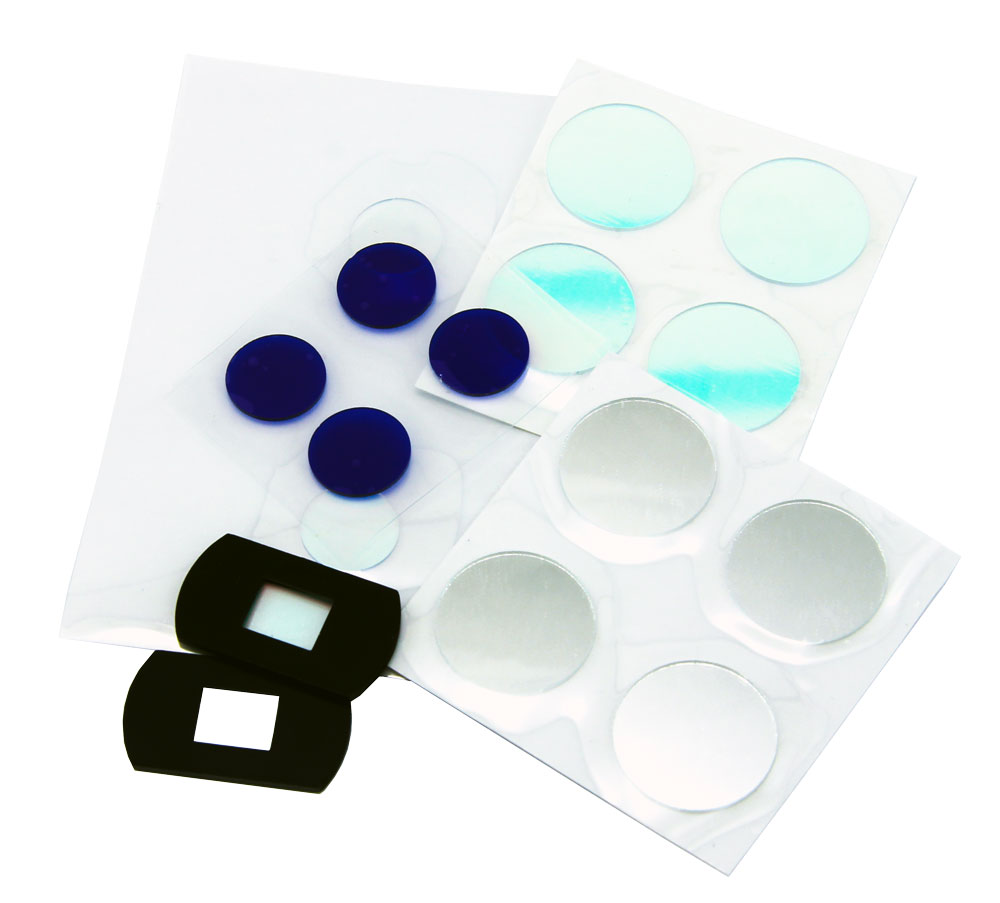
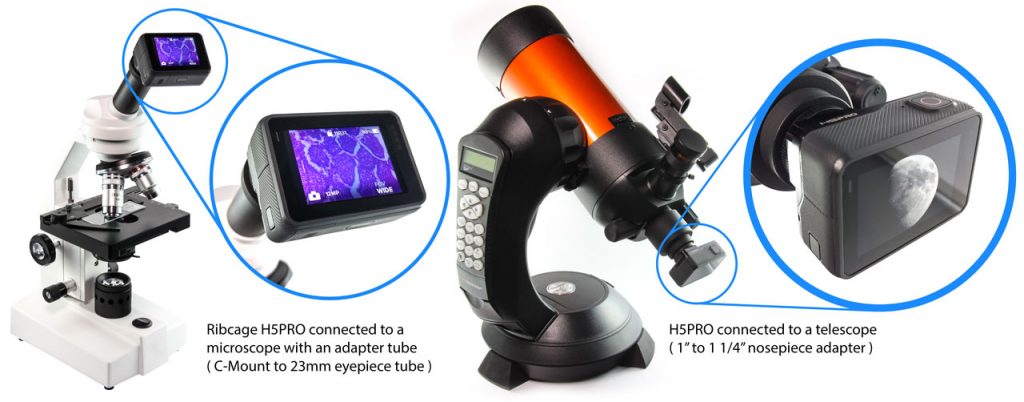
Our Ribcage Modified Cameras are small, portable and have powerful shooting options at a reasonable price. That makes them a perfect option for microscopes, telescopes and many other scientific applications. C-Mount is commonly used in scientific and medical imaging equipment so the camera can be directly connected to many microscopes and telescopes! The image sensor makes it ideal for beam splitters that are designed for ½” C-Mount cameras and can be attached in place of the eyepiece with a simple adapter. The camera is also capable of seeing infra-red for your custom applications. Filters are easily added or removed to the inside of the camera so you can image exactly the areas of the spectrum that you need.
There are many benefits when using your Ribcage modified camera on a microscope:
Theses benefits include:
- 4K recording
- High resolution 12MP stills (RAW with H5PRO)
- Manual exposure / shutter speed control (Hero4, Hero5)
- Connection to high-res displays
- Clean 4K (UHD) HDMI out (H5PRO)
- Smartphone and tablet connectivity
- Custom wavelength imaging
- Compact size / portable / self-contained
- Remote control
- Up to 240 fps (720p)
What you will need:
1. C-Mount Ribcage modified camera
2. Microscope
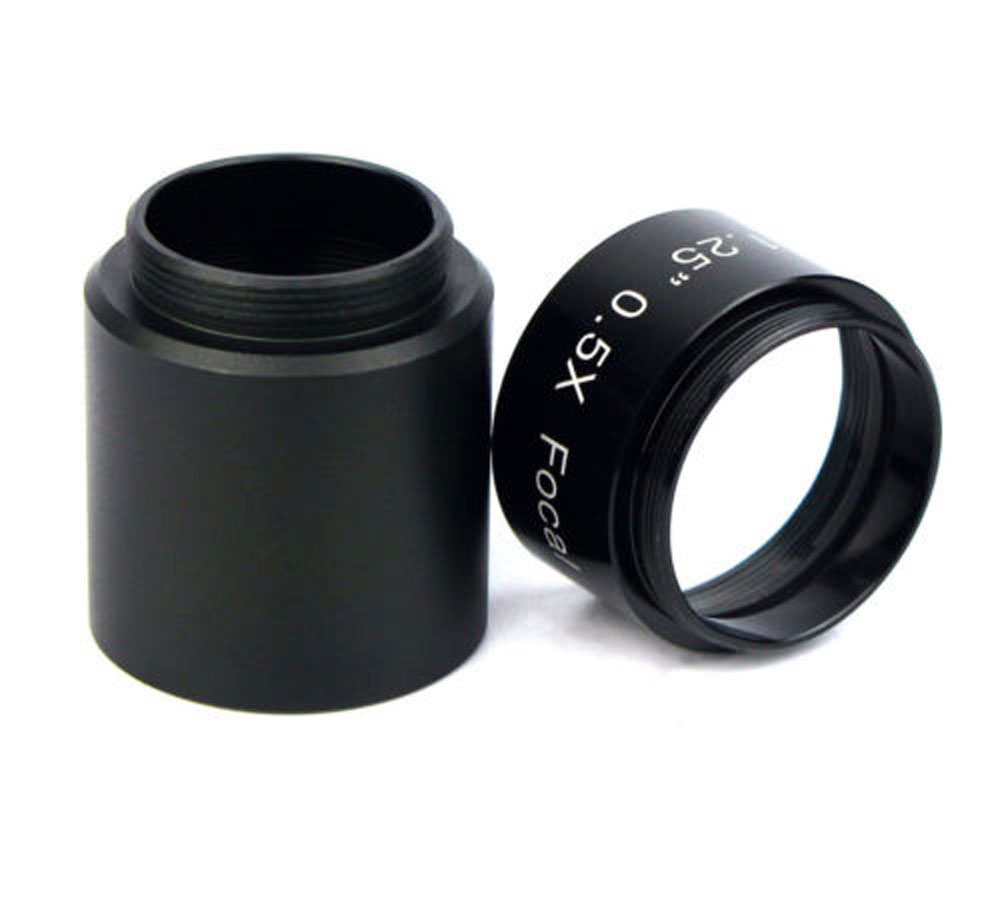
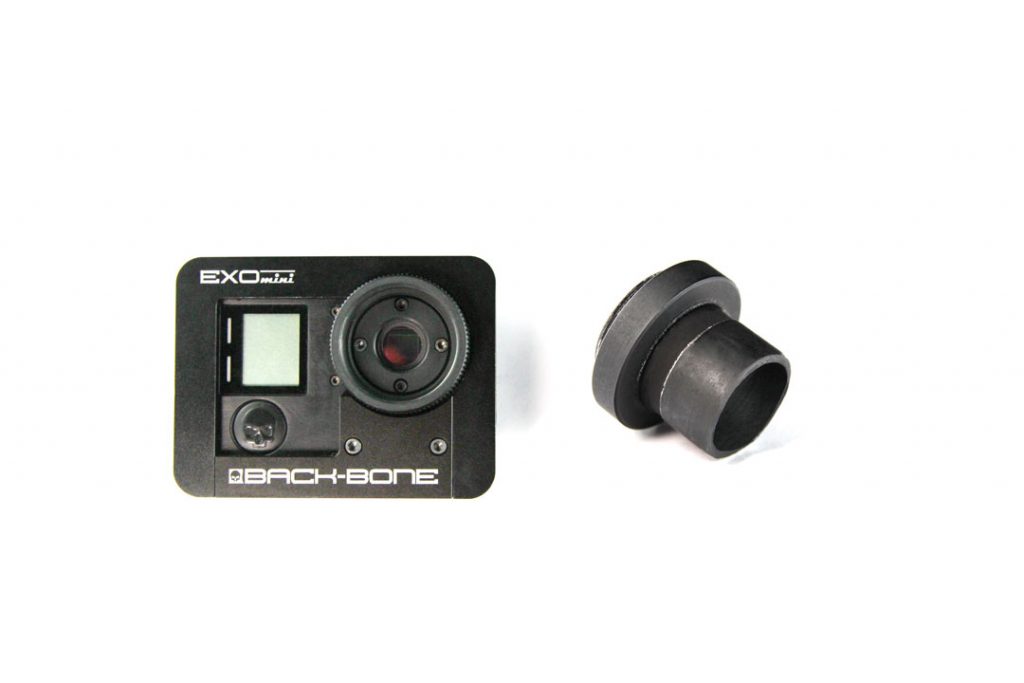
3. C-Mount eyepiece adapter / C-Mount beam splitter
4. Filters (Optional)
5. Micro HDMI cable (or YI 4K A/V cable)
Other C-Mount imaging systems are often quite costly with substantially fewer options, weaker specifications and require an external power supply and controller. Our solution is available at a small fraction of the cost, is simple to operate, compact and portable. With our native C-Mount you can easily transfer the camera to other equipment as needed or pack it up and use it in the field. The camera can be permanently powered if required so shooting long segments or time-lapse sequences is a breeze.
Getting started:
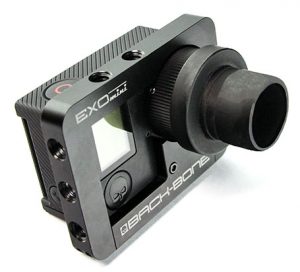
1. Add the C-Mount adapter to your Ribcage.
2. With your microscope, you will get a C-Mount support which you will need to screw on the Ribcage.
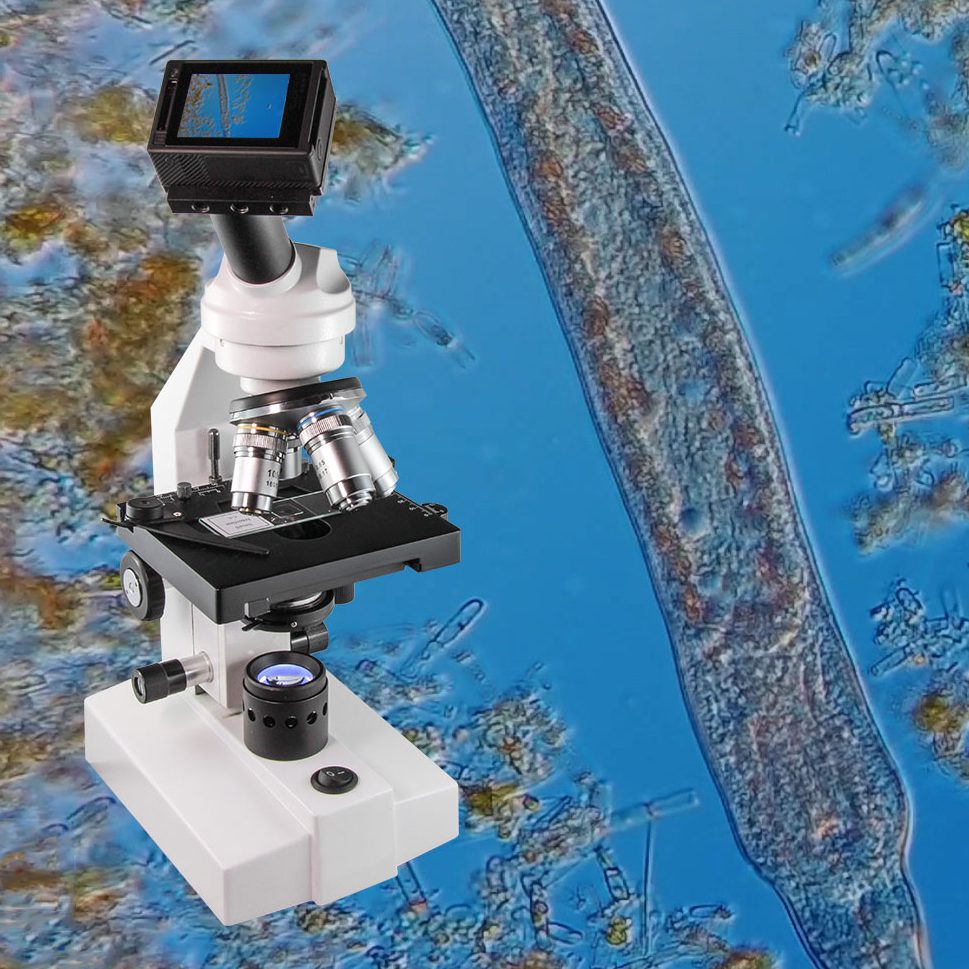
3. Insert the camera on the top of the microscope.
4. Make sure everything is turned on (camera and microscope).
5. You are now ready to start taking amazing shots!
Post-production:
With GoPro’s Protune camera settings you can get much higher quality throughout your post-production and get more dynamic images from your camera. You can edit your pictures with Adobe Photoshop or Lightroom. GoPro’s Quik™ is also a great choice for post-processing your clips into a short video as is Adobe Premiere or any other video editing package.
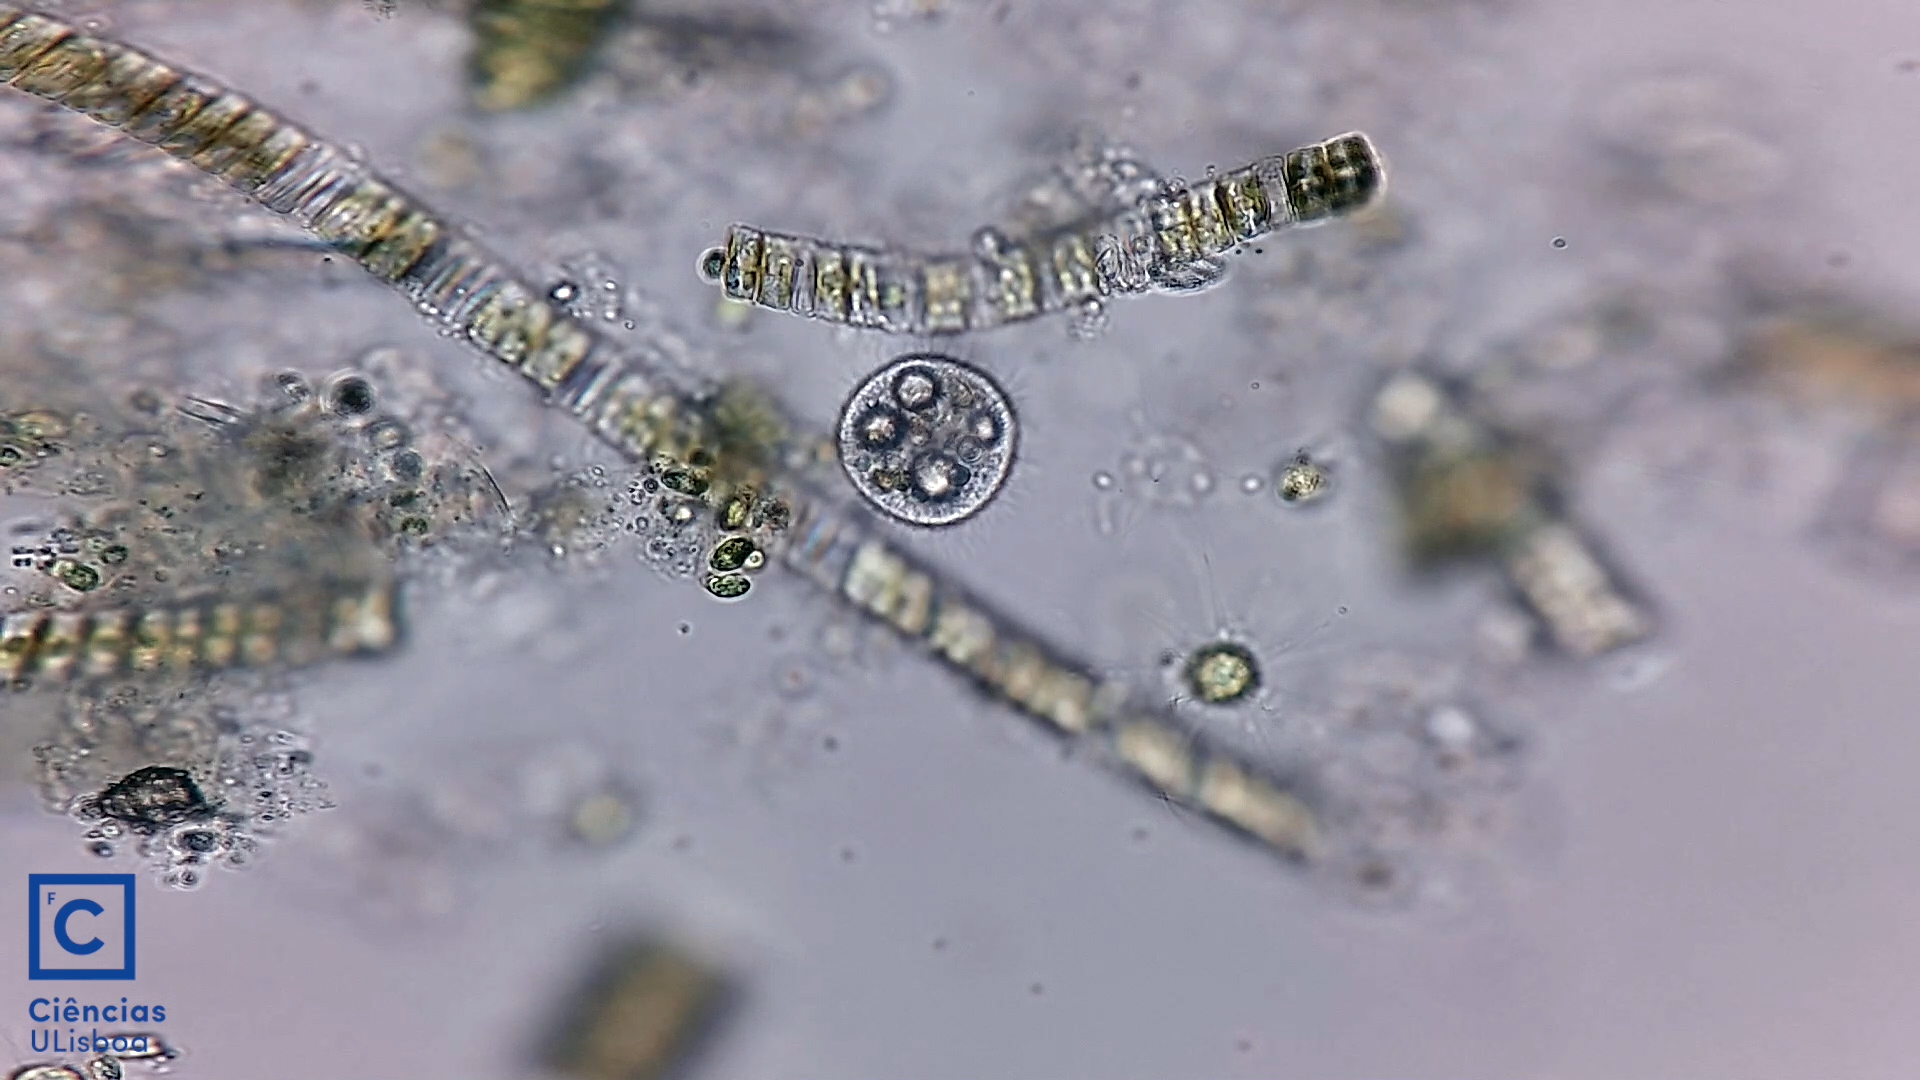
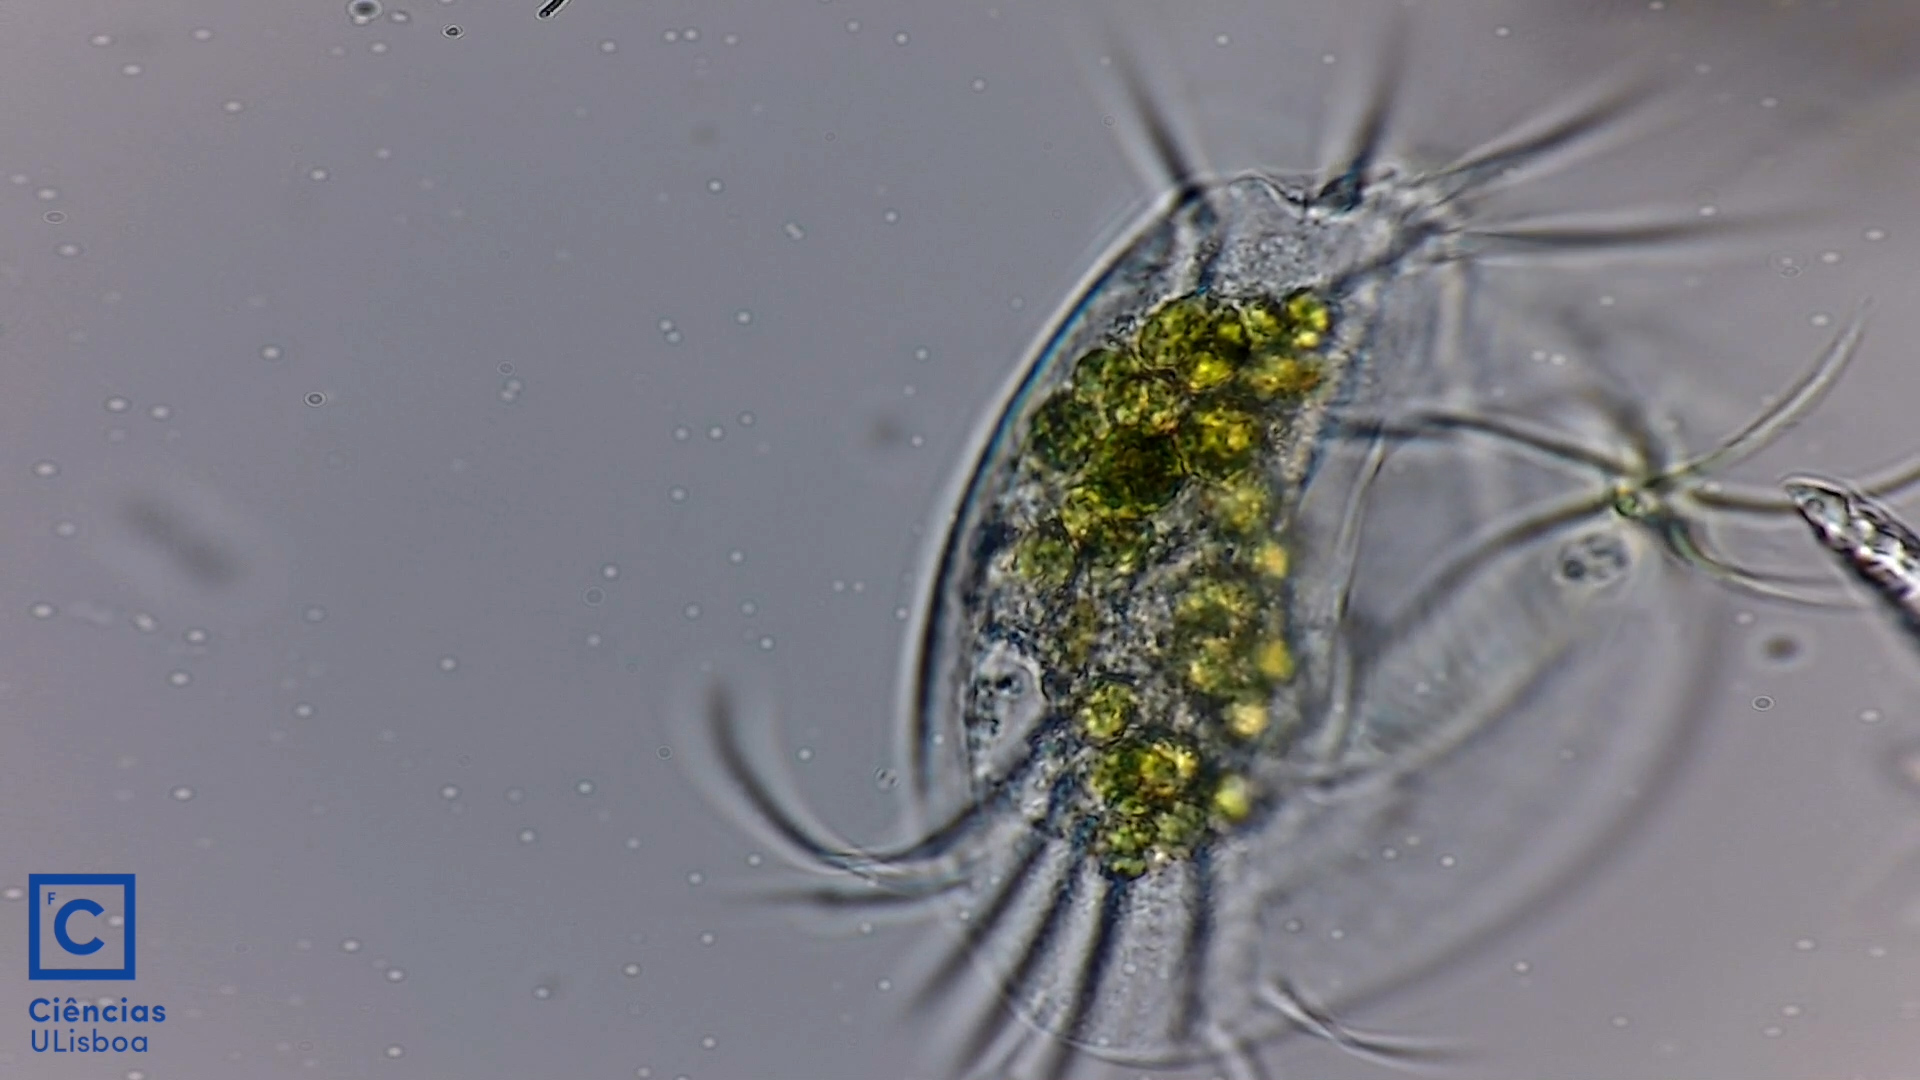
A short video taken by Ciencias ULisboa of water mites trough a microscope equipped with a Ribcage modified GoPro.

