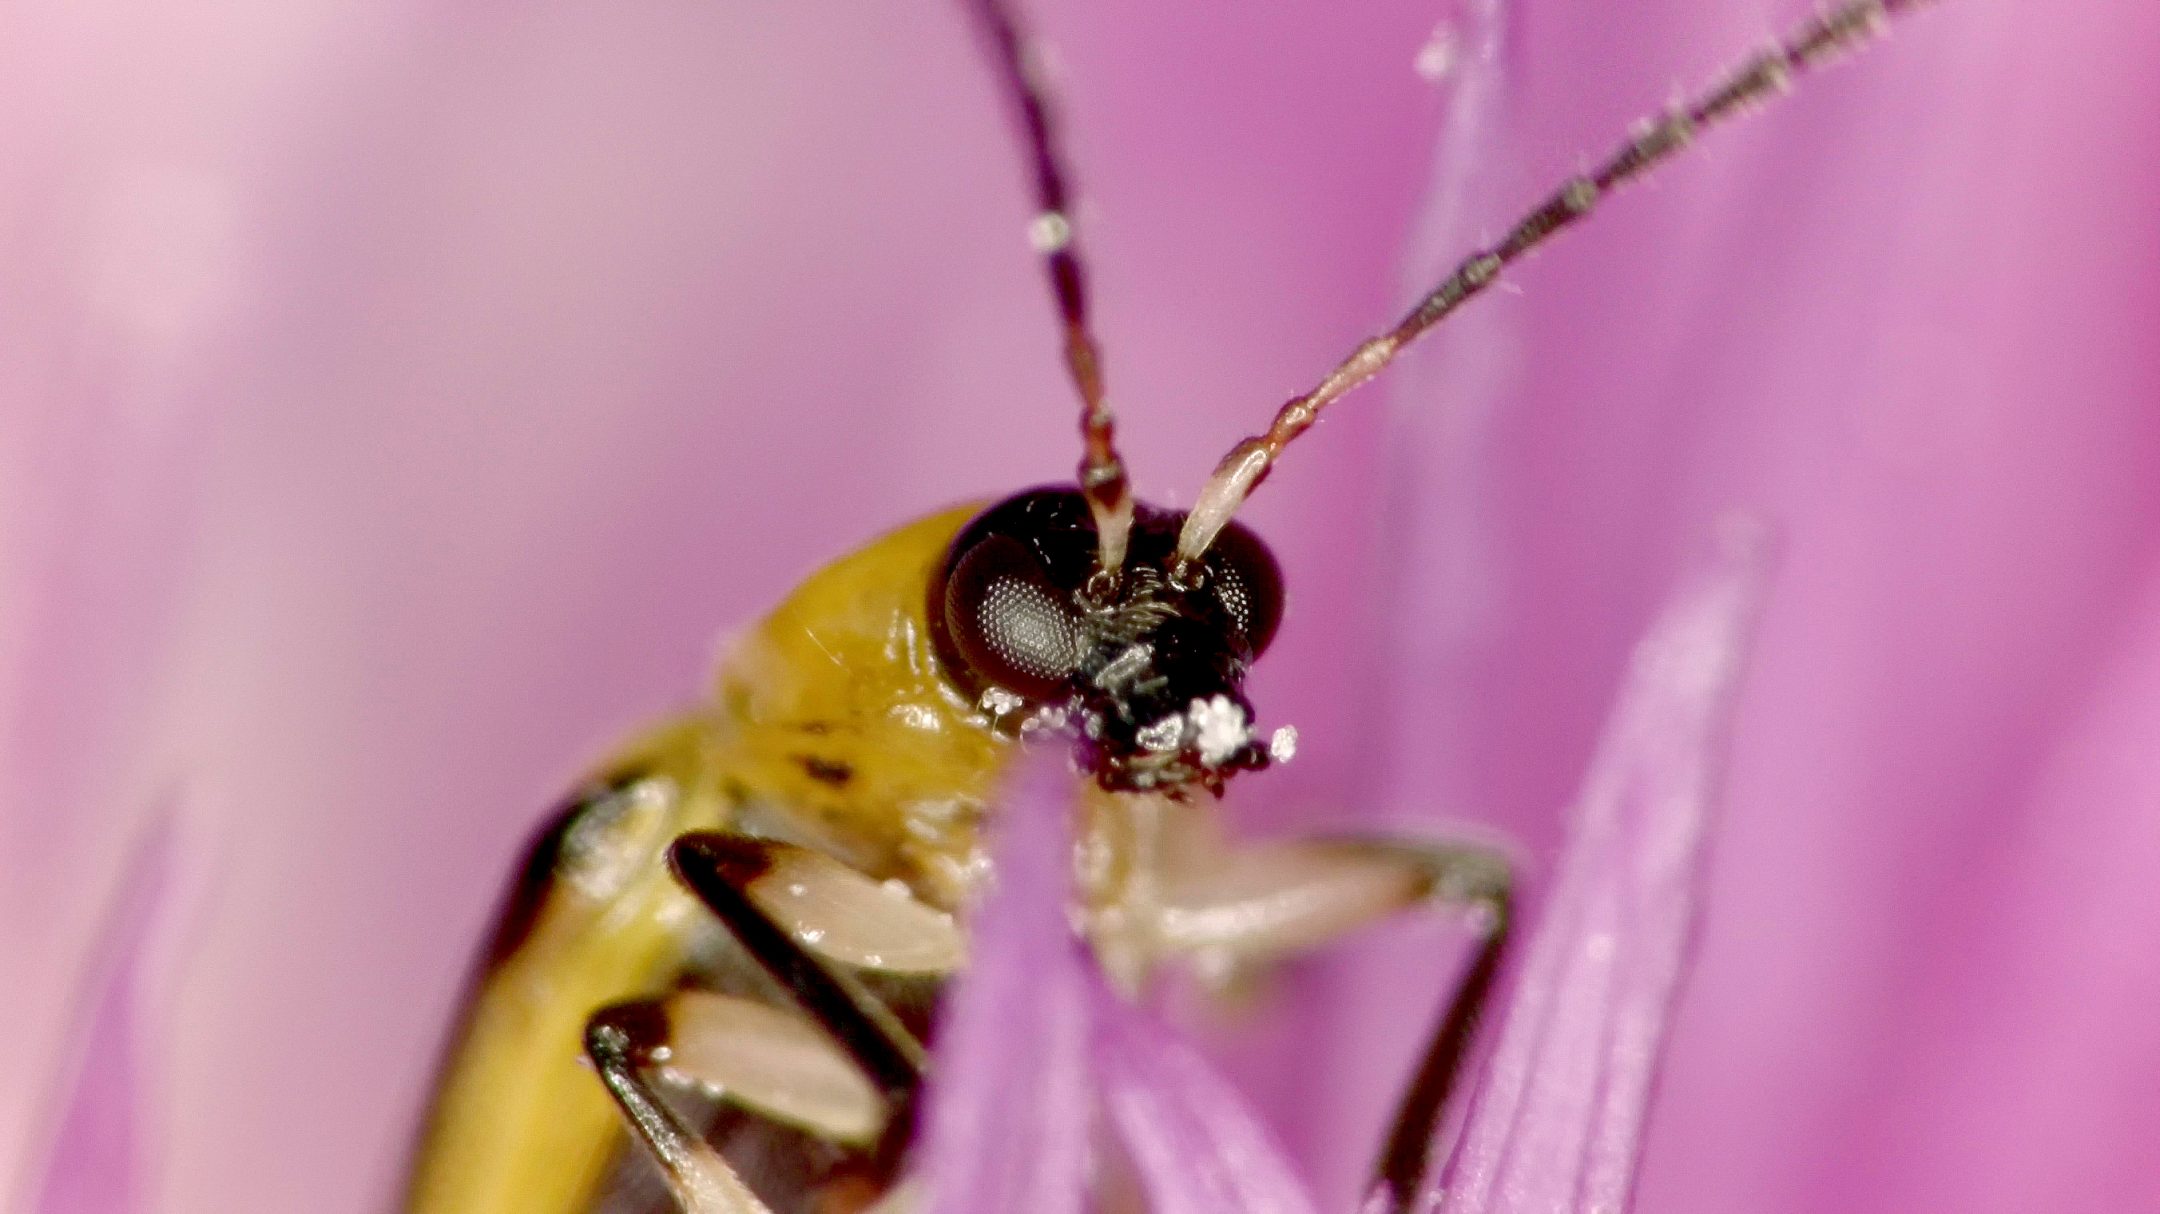
There’s a whole world of life around you everywhere if you just stop to look a little closer. All of these creatures were filmed in a suburban backyard flower garden in Ottawa, Canada.
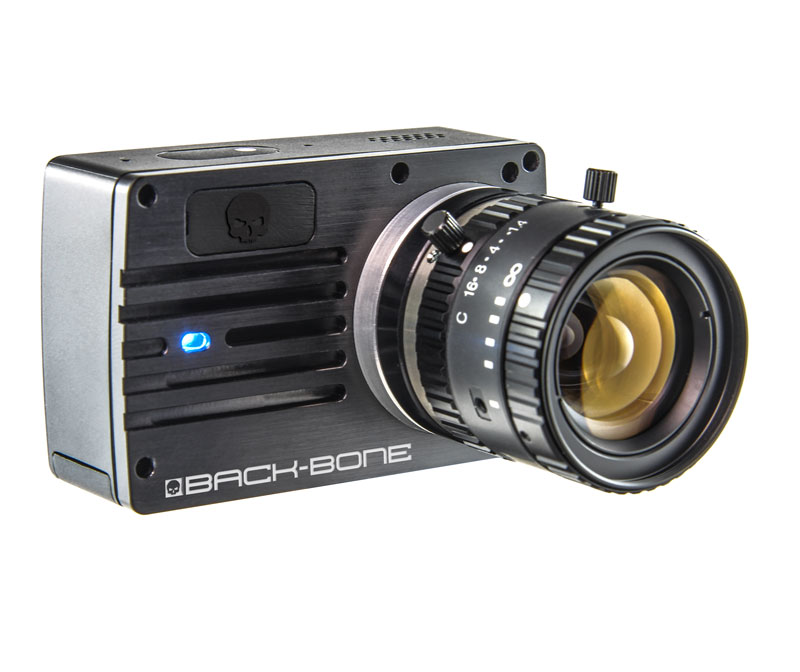
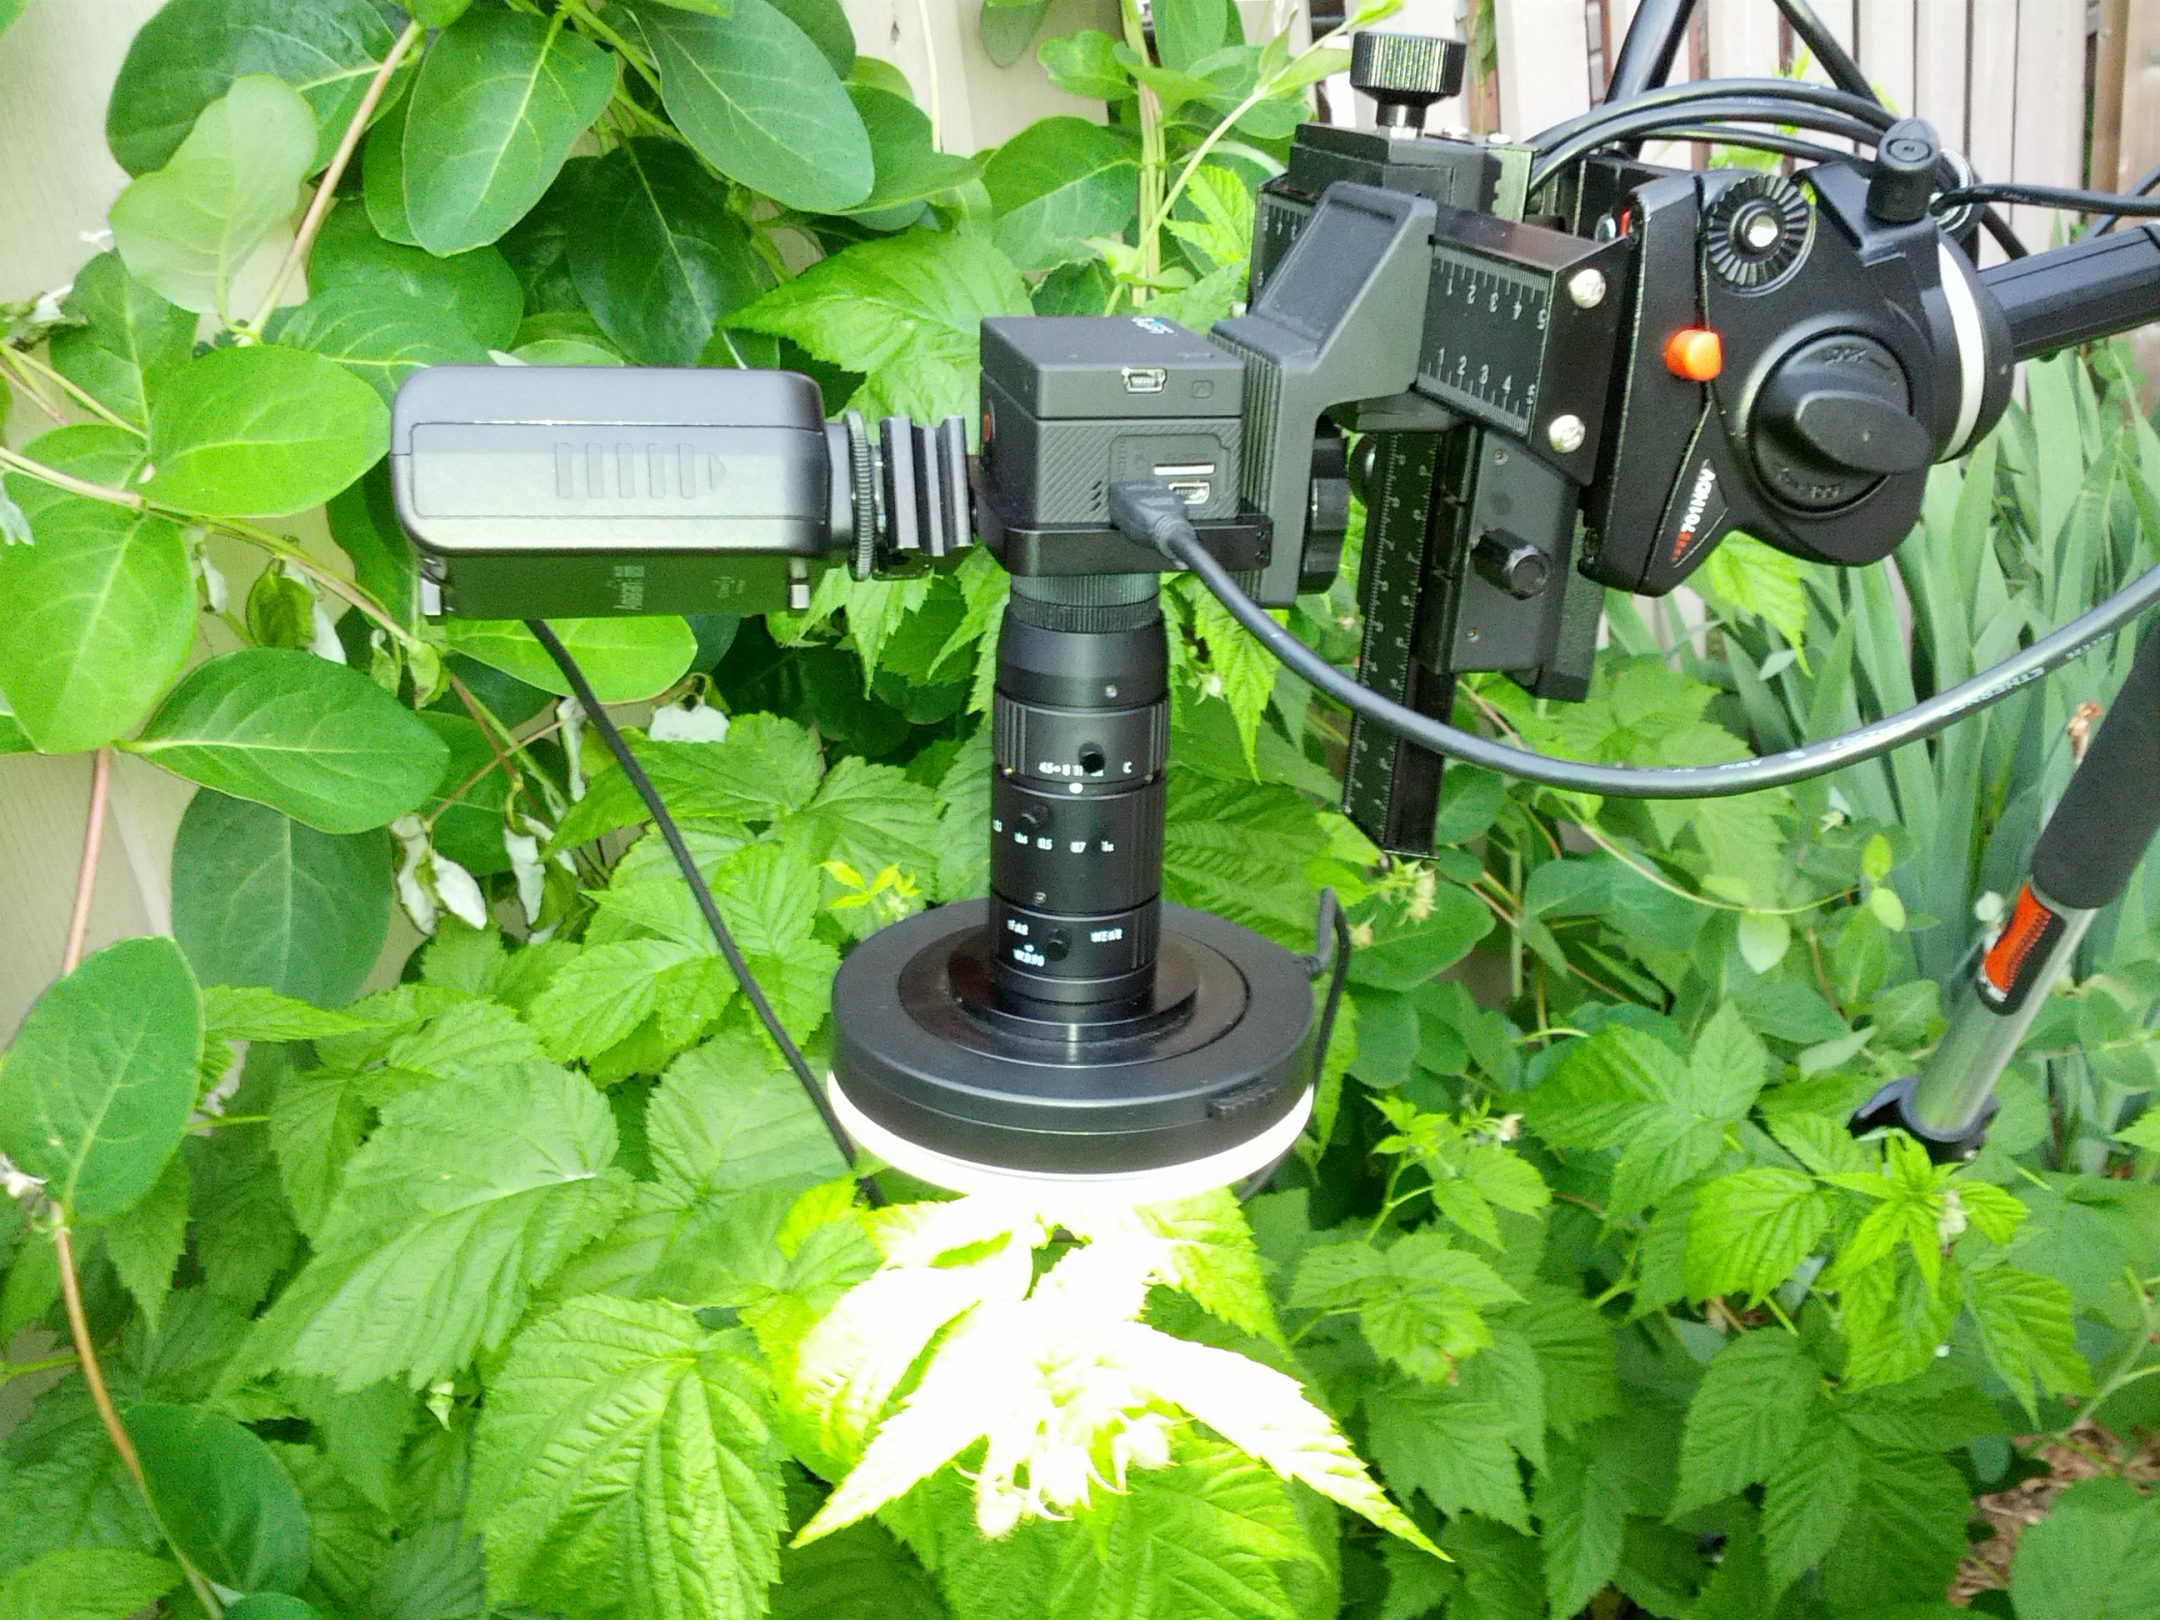
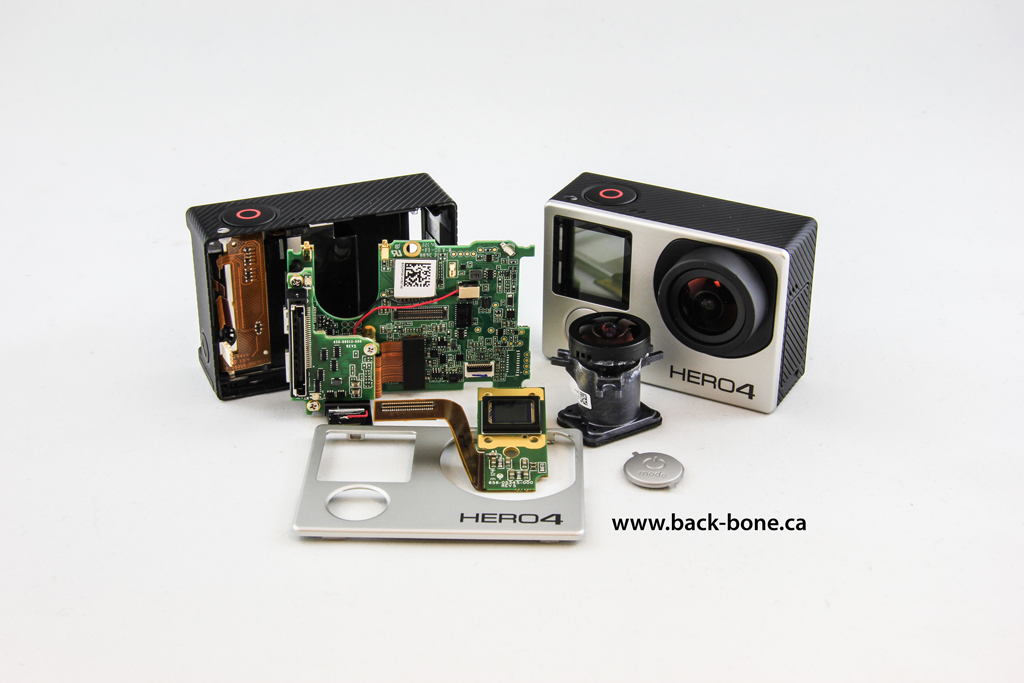
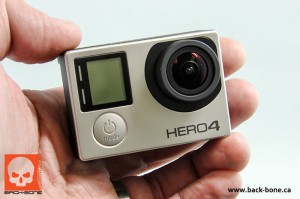
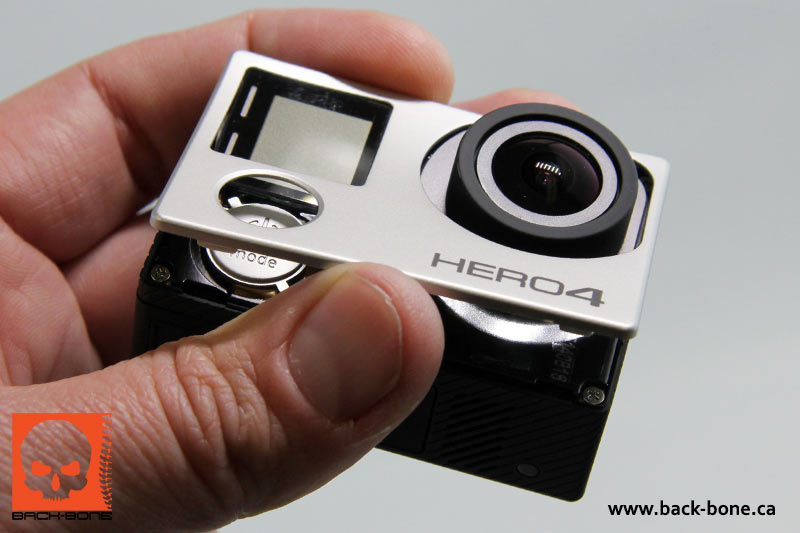
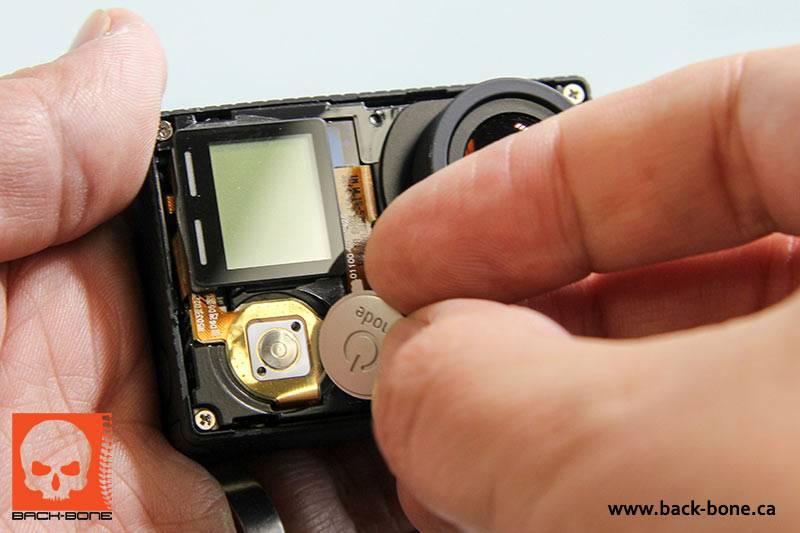
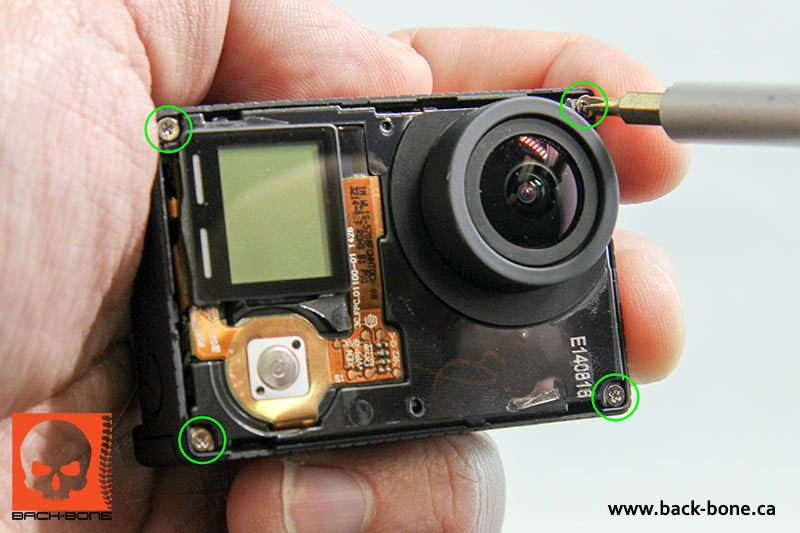
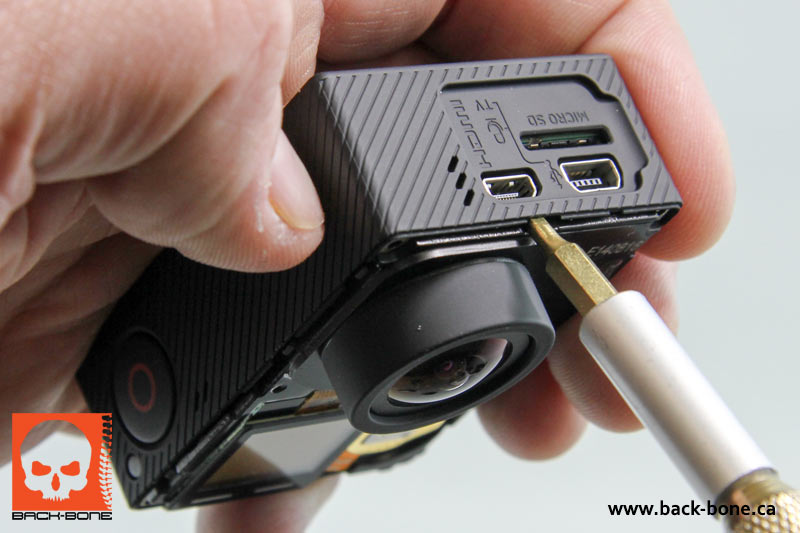
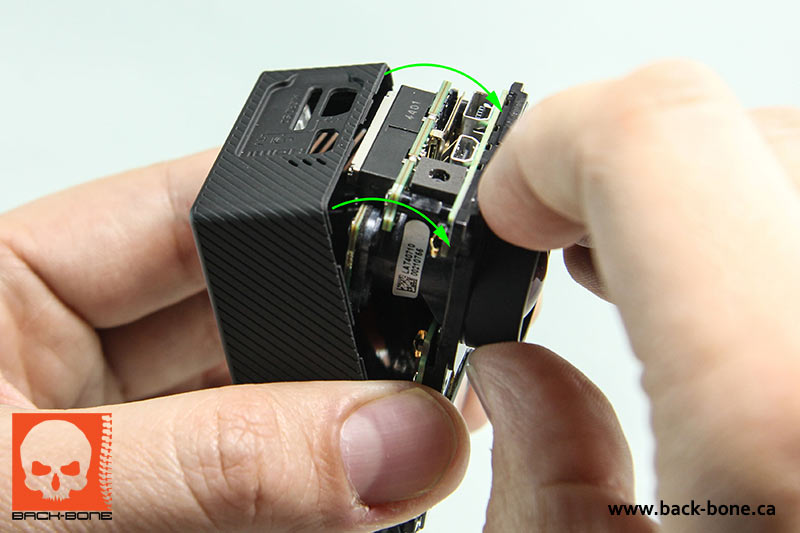
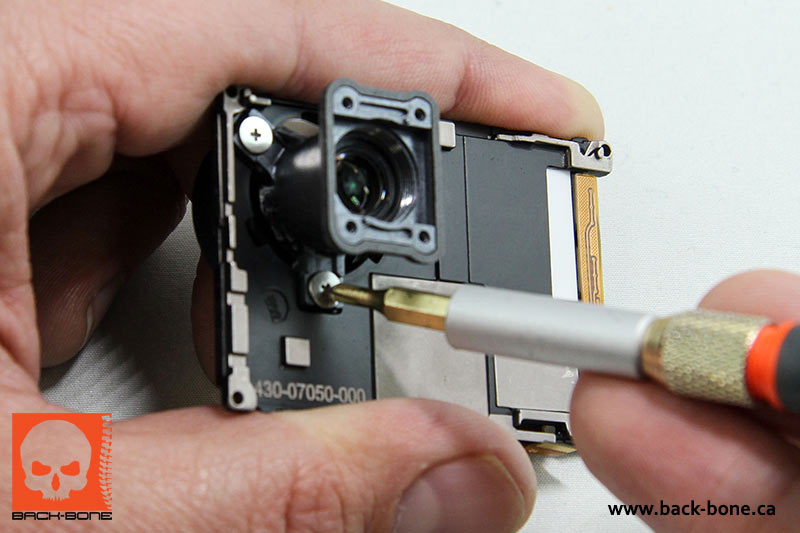
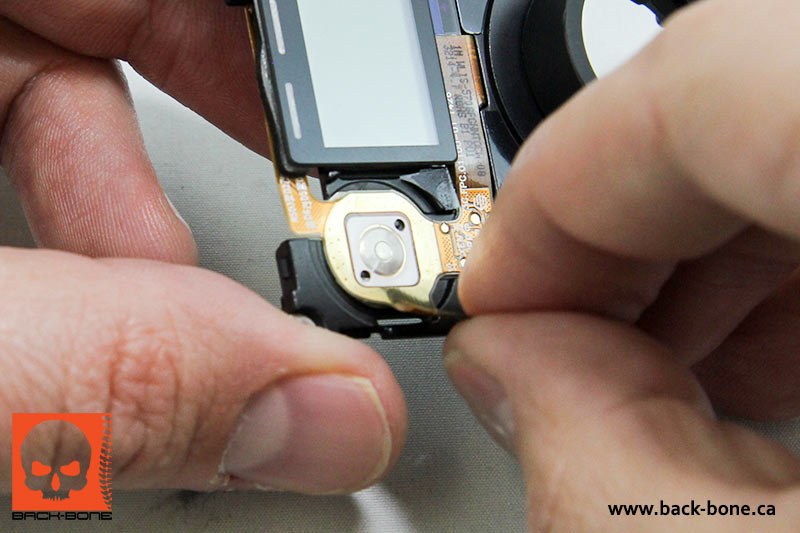
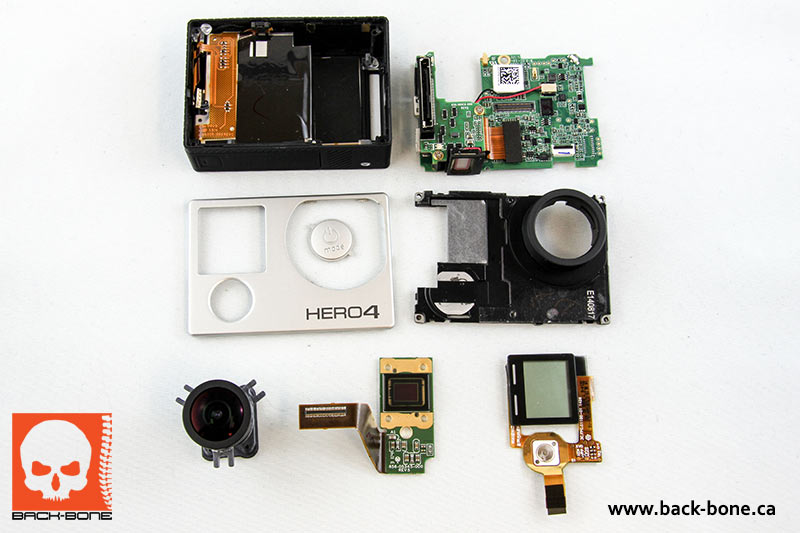
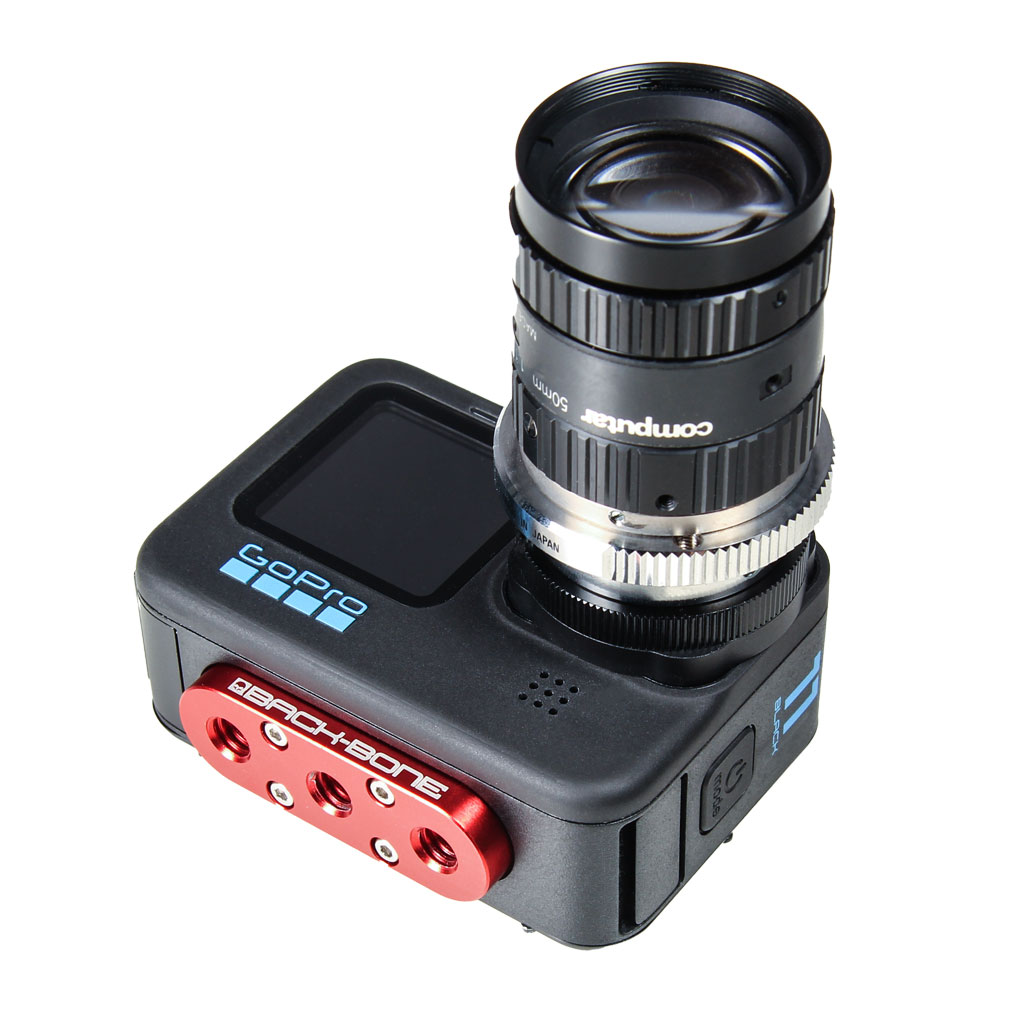
This video was shot entirely with a GoPro Hero4 Black modified with our Ribcage Mod Kit. A Computar 2/3″ 3.3X Macro Zoom lens was used.
Settings:
- Protune mode 2.7K/60 Wide
- White Balance ‘Native’
- Color ‘Flat’
- Sharpness ‘Medium’
Color was graded in post using Adobe Speedgrade CC 2014. Frame rate slowed to 30fps in Premiere.
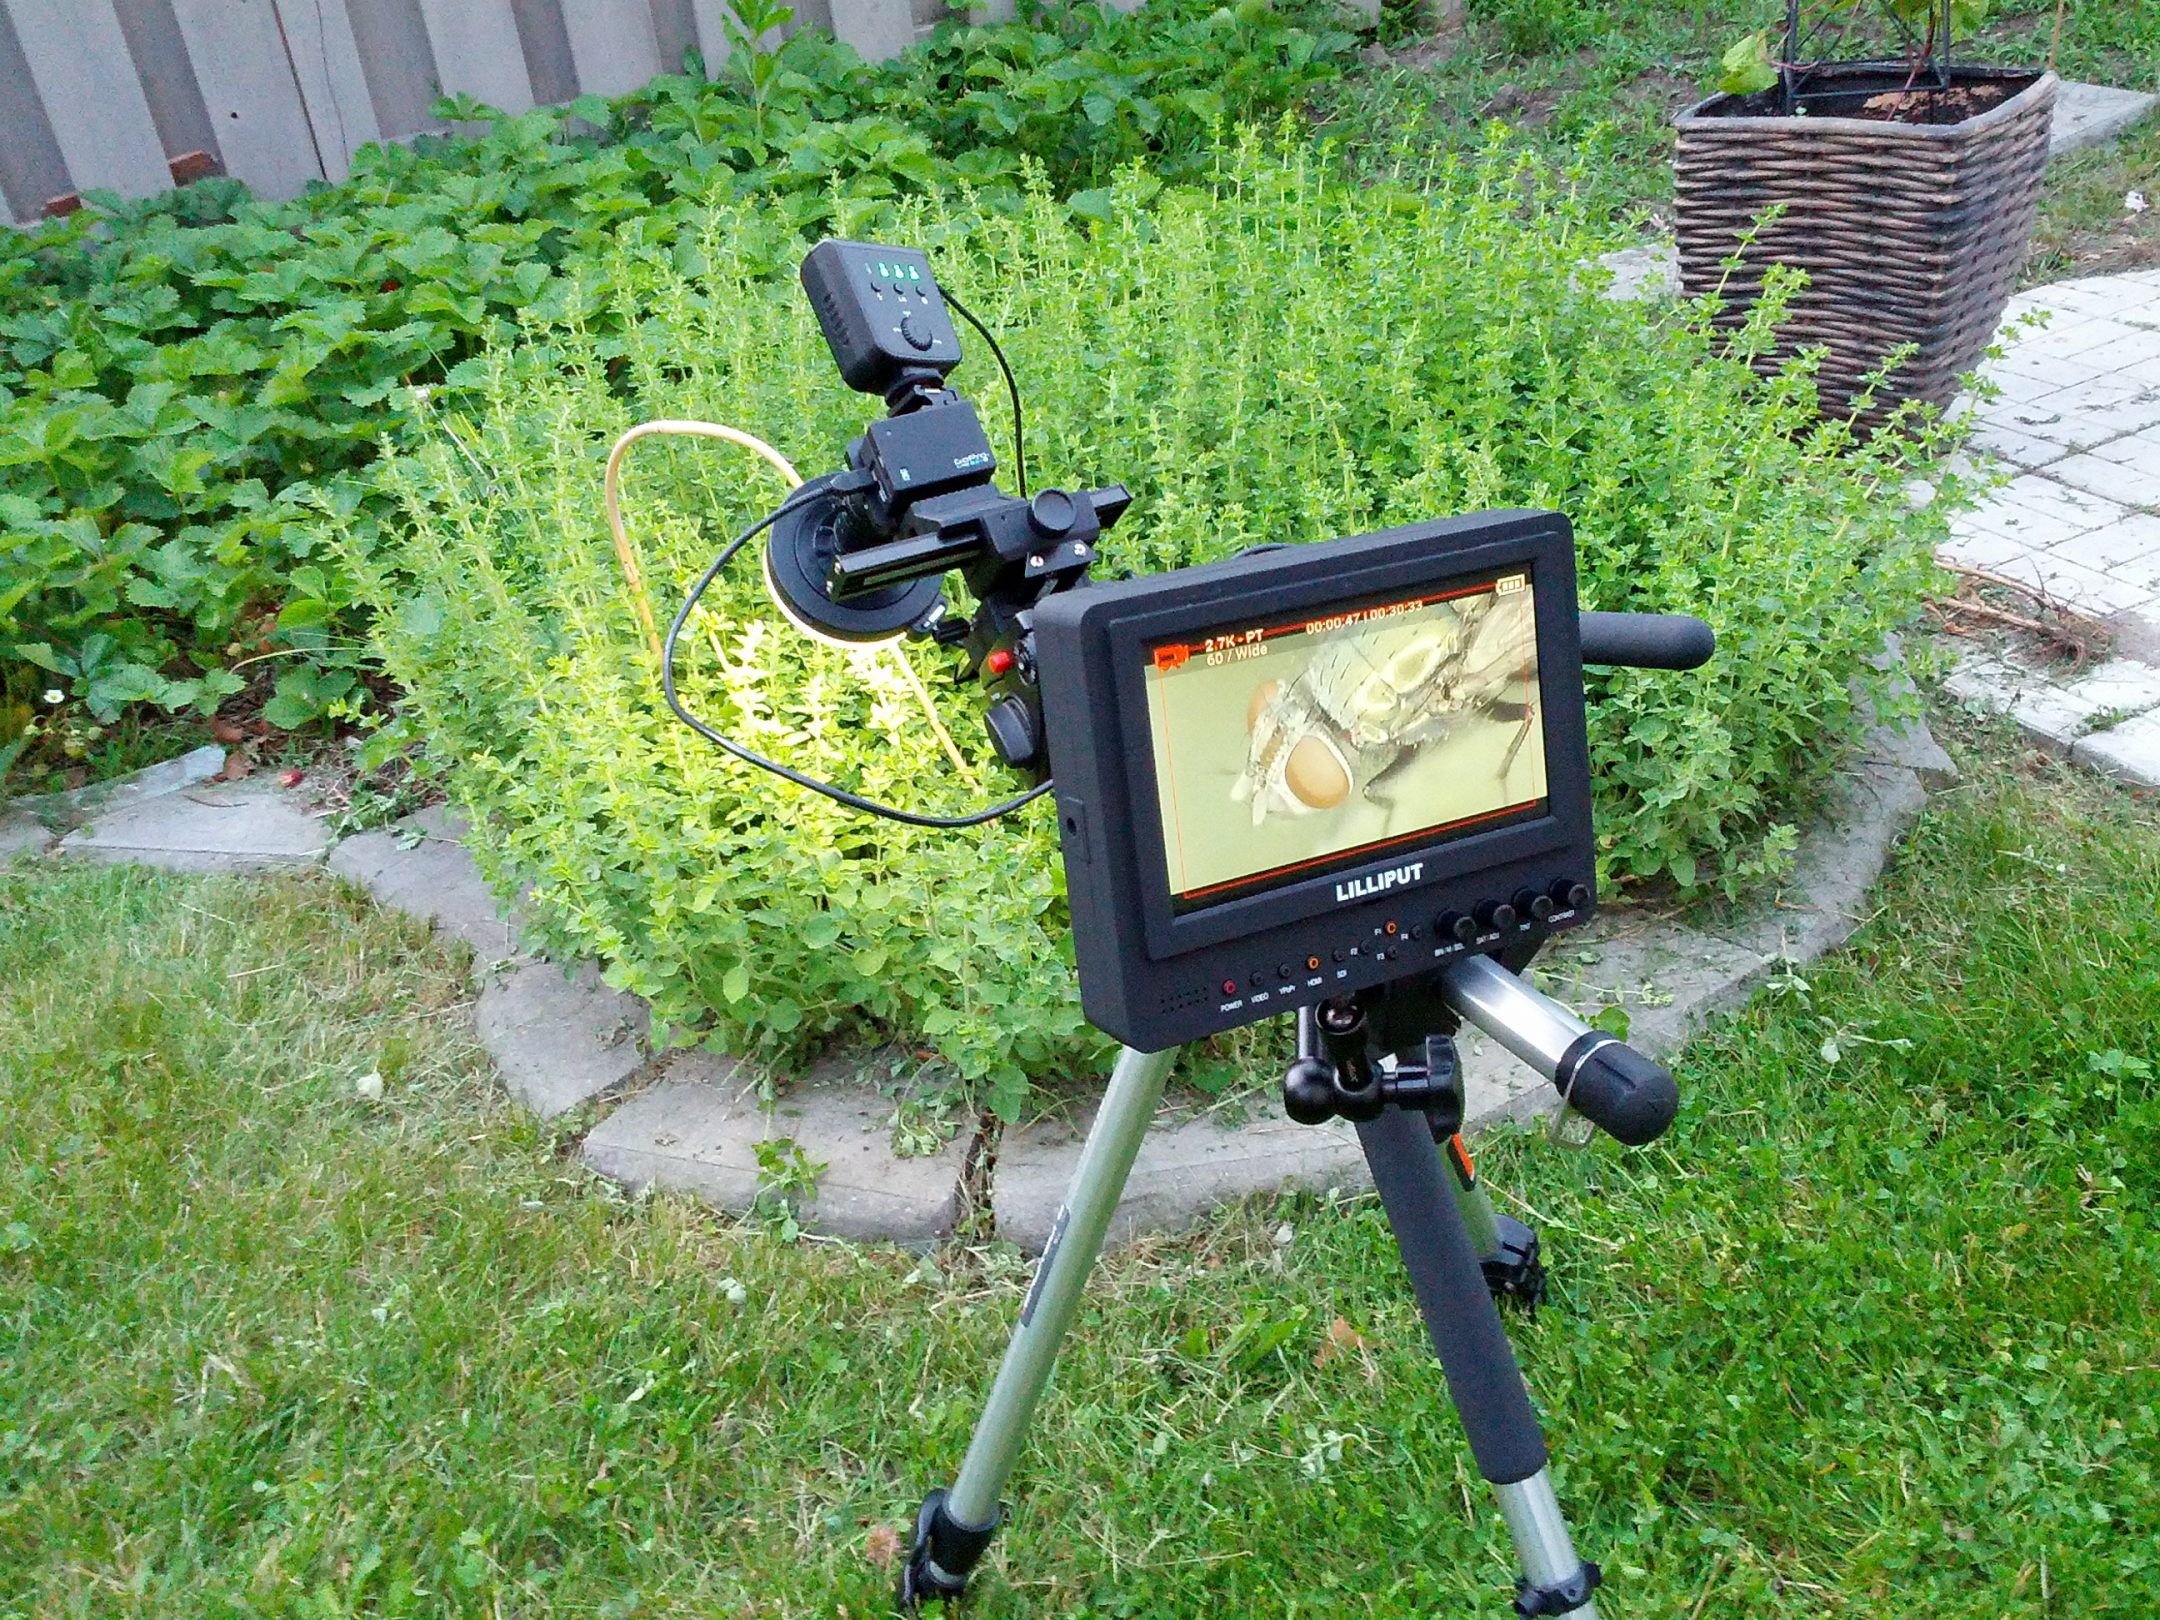
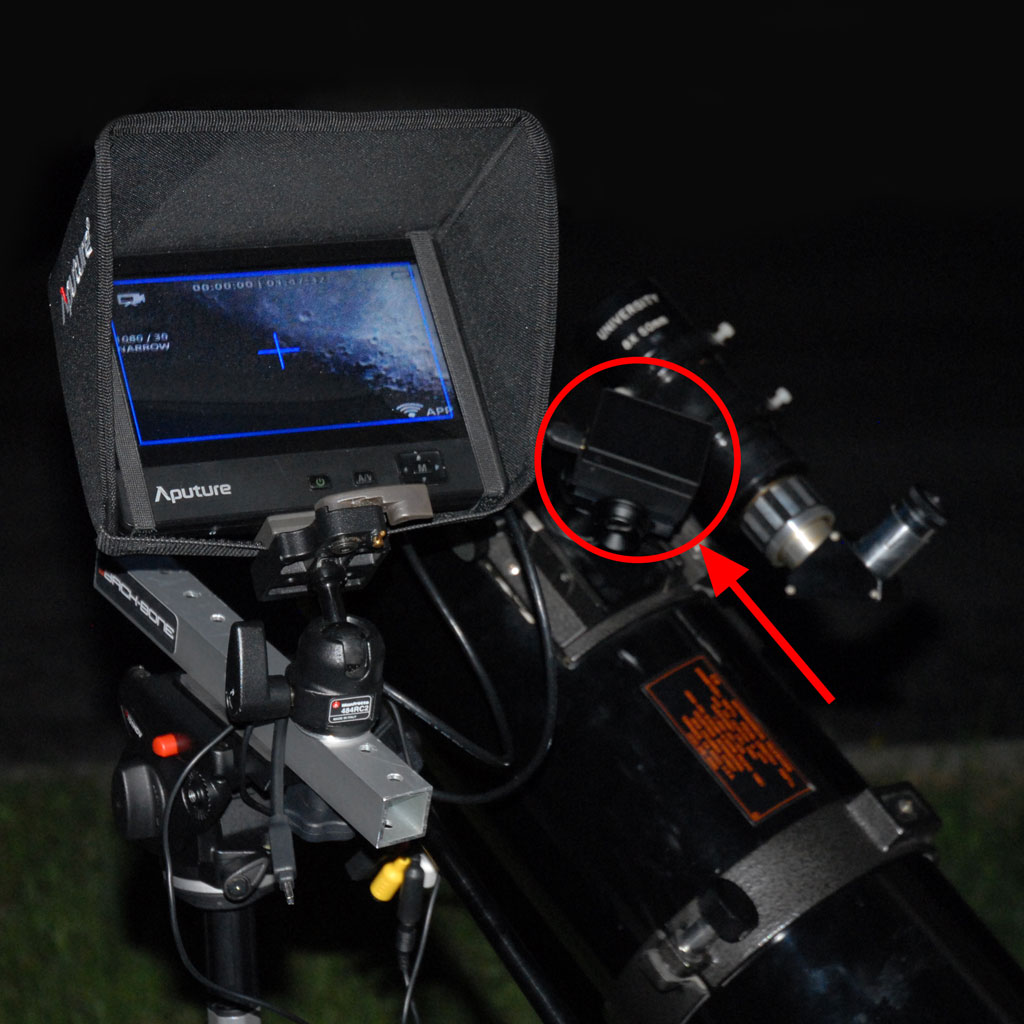
Captures were performed over two days at dusk as the insects were less likely to move away. An LED ring light was used for added illumination. As well a 2-axis macro focusing rail was used to make fine adjustments which made framing the shots much easier.

The 2/3″ 3.3X Macro Zoom lens is available in our shop:
http://www.back-bone.ca/product-category/lenses/
 Special Deals
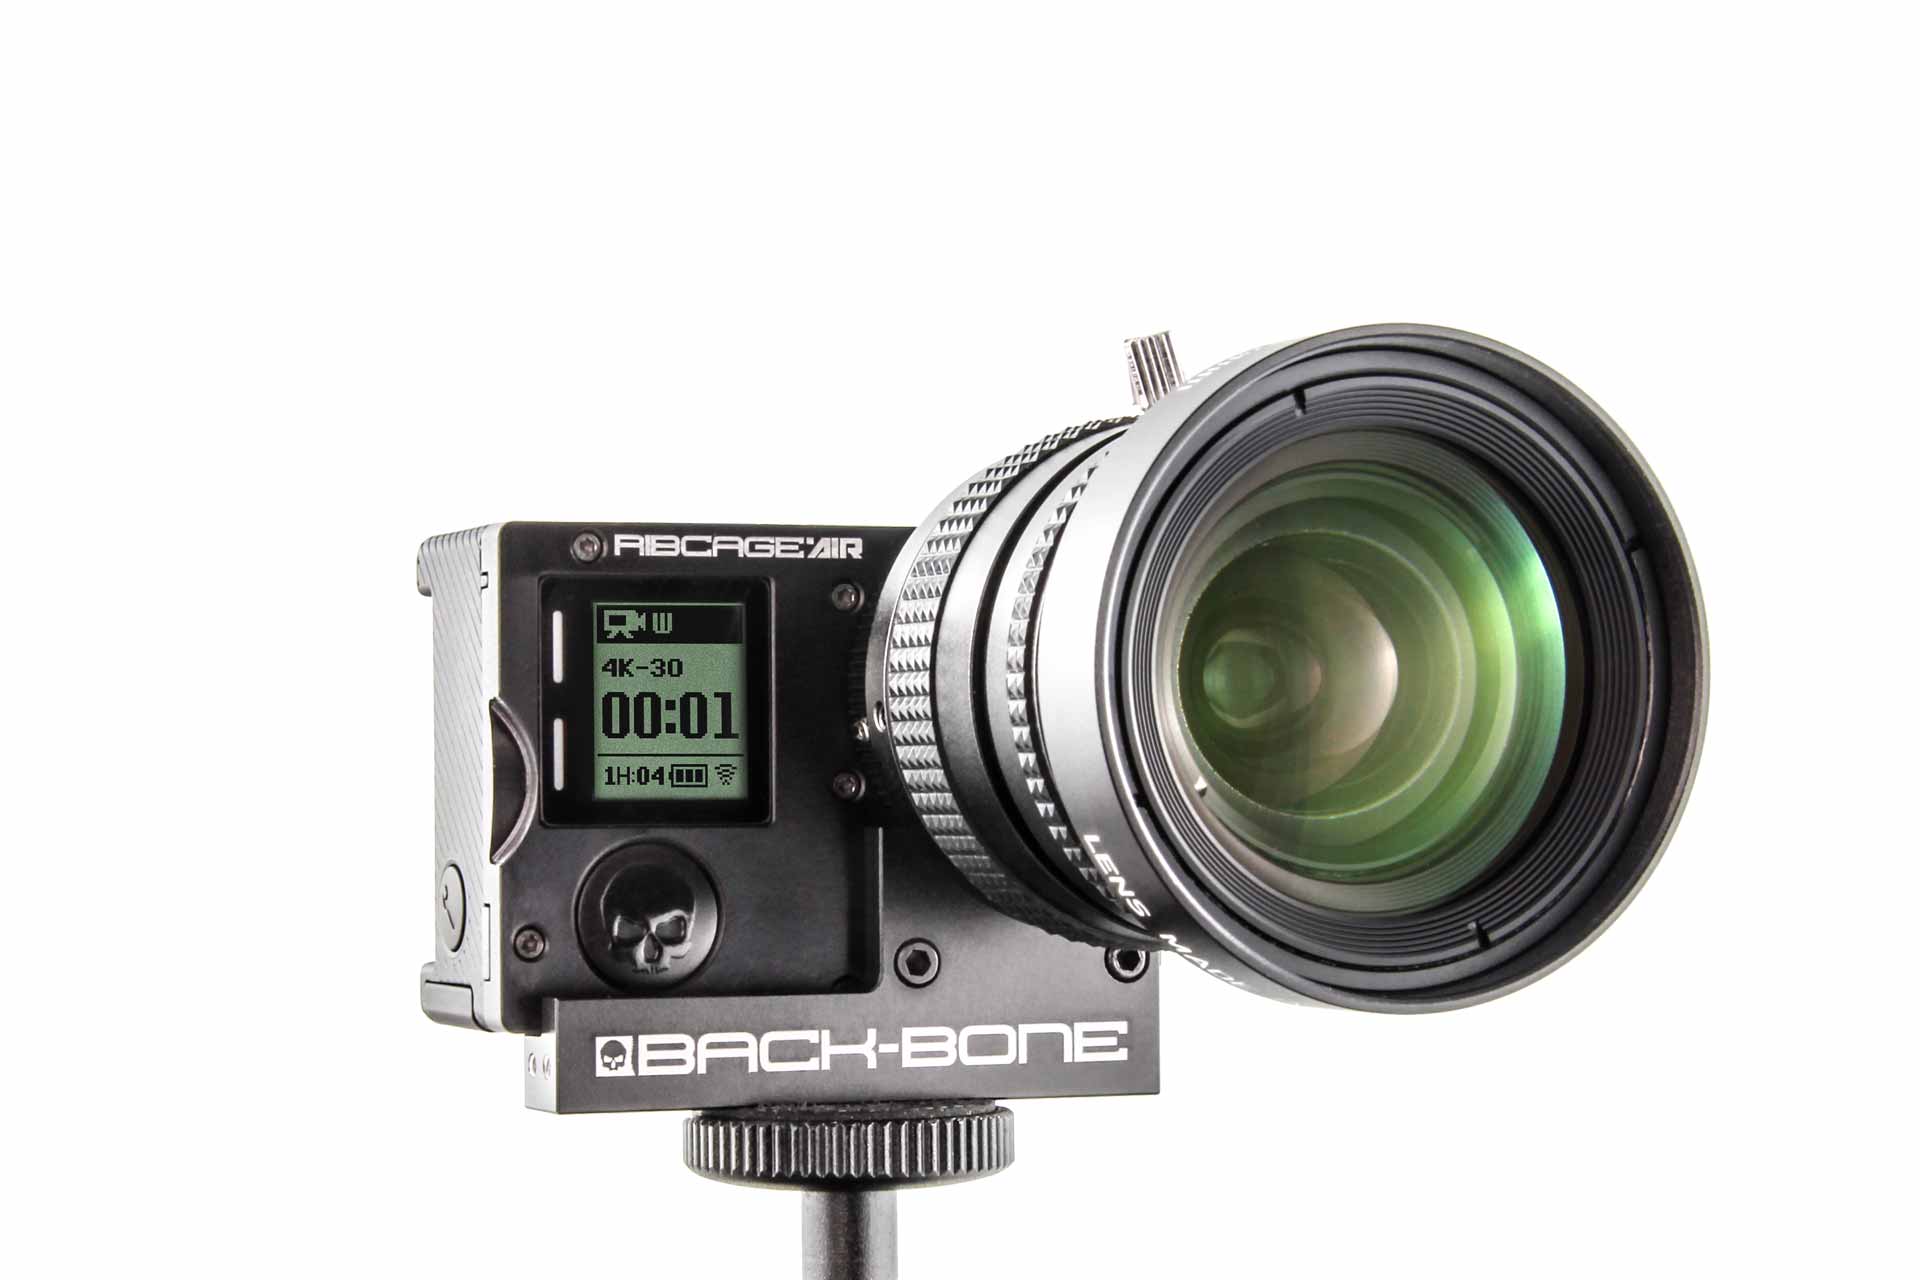 Legacy Products
 Limited Time Offers
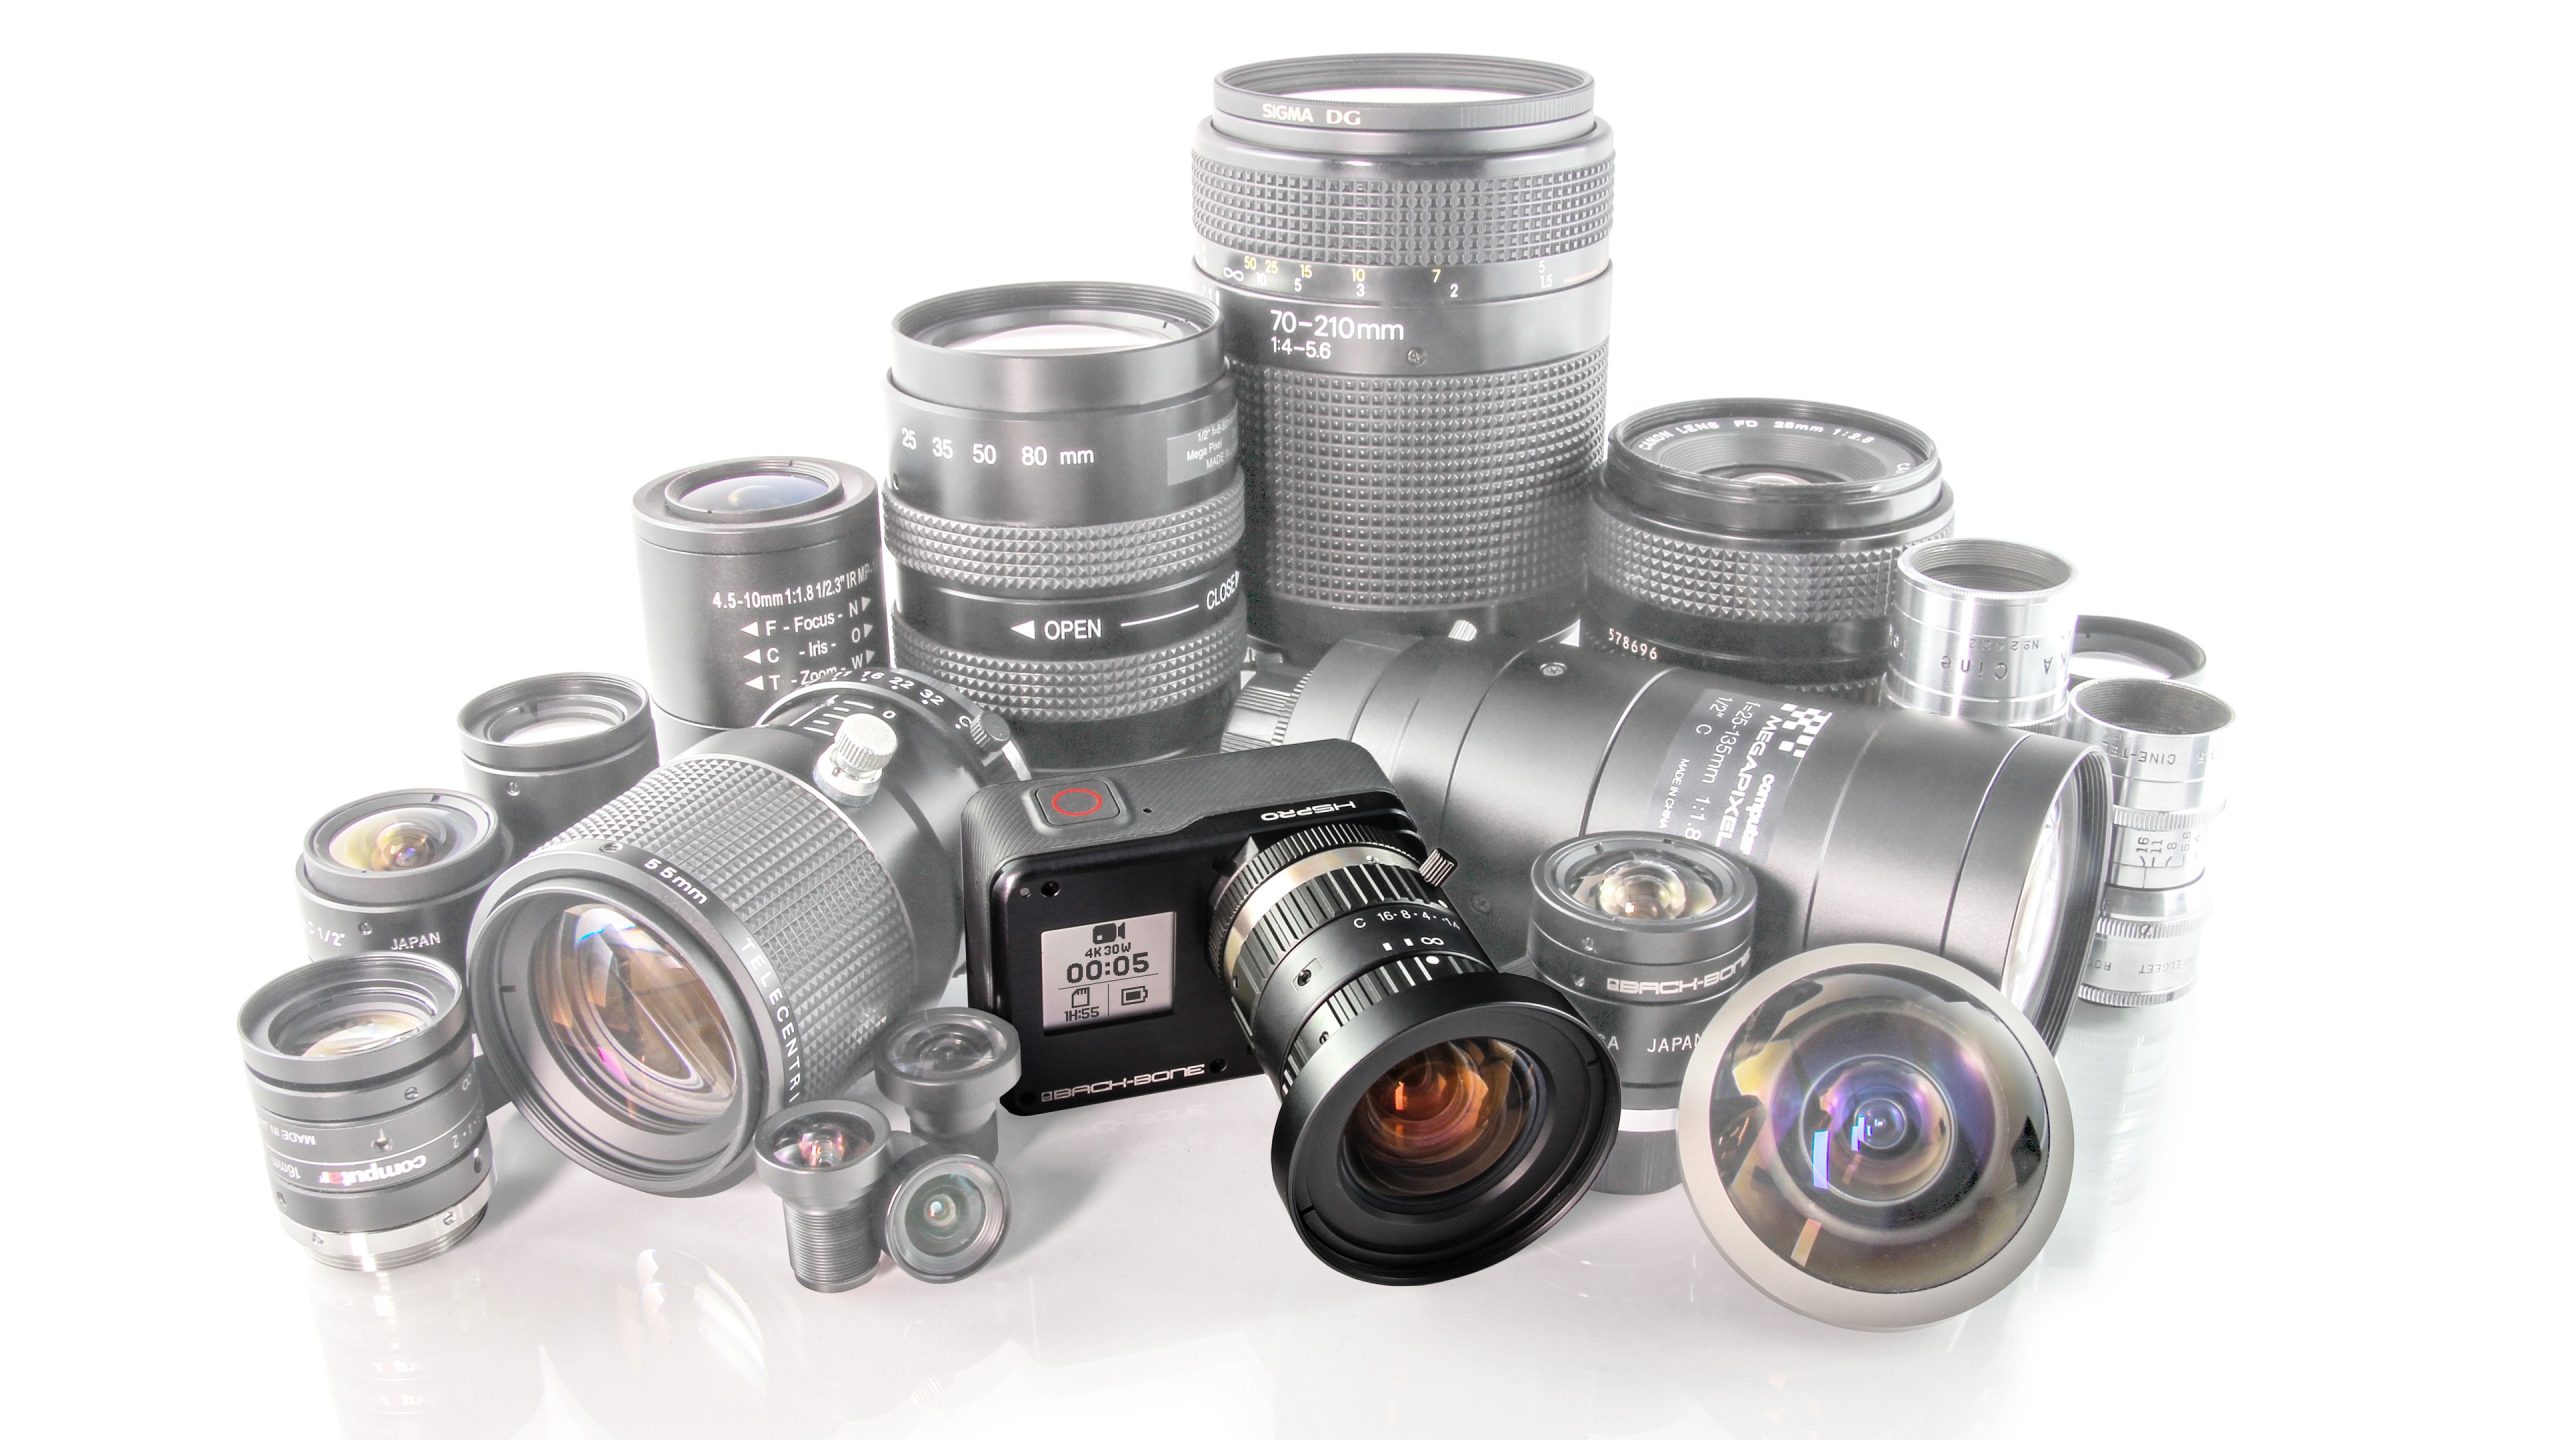 Open Box
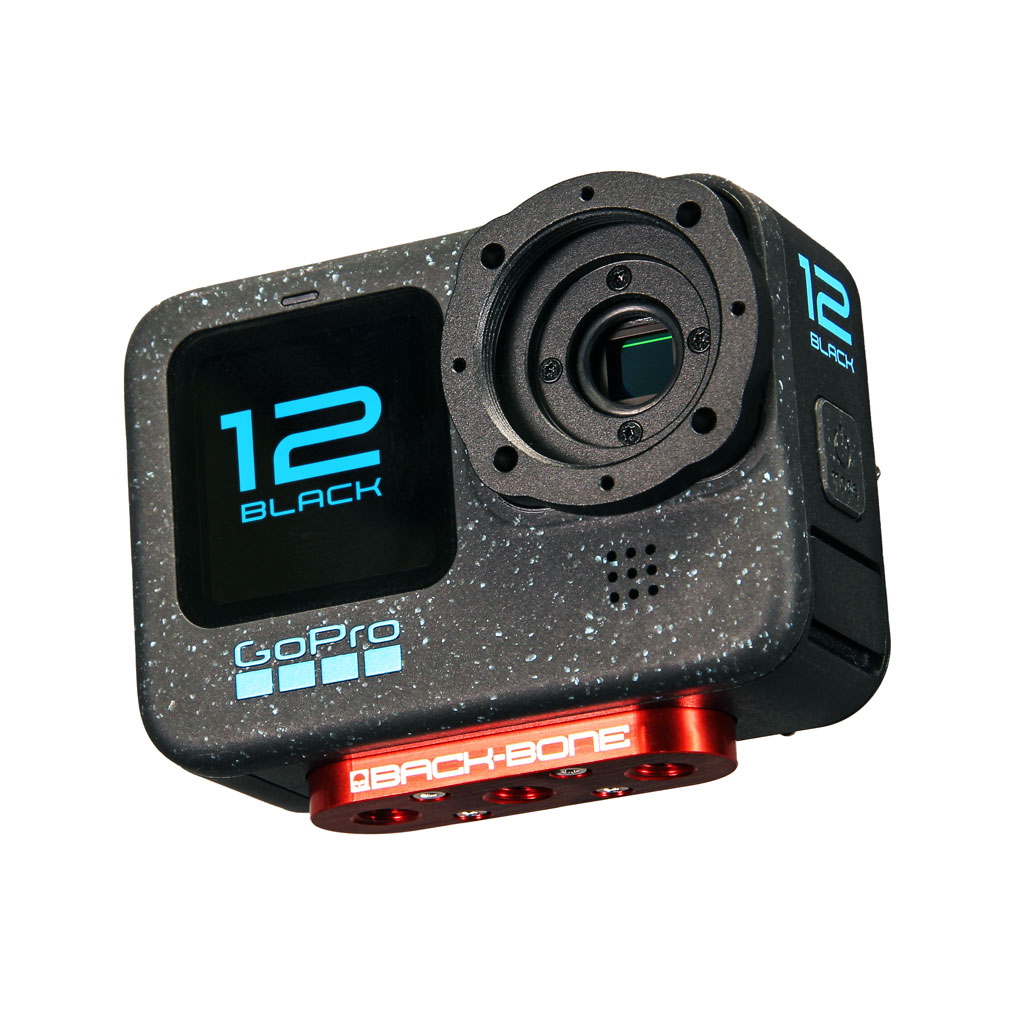 Modified Cameras and DIY Mod Kits
 Cameras
 Mod Kits
 Installation Services
 Lenses
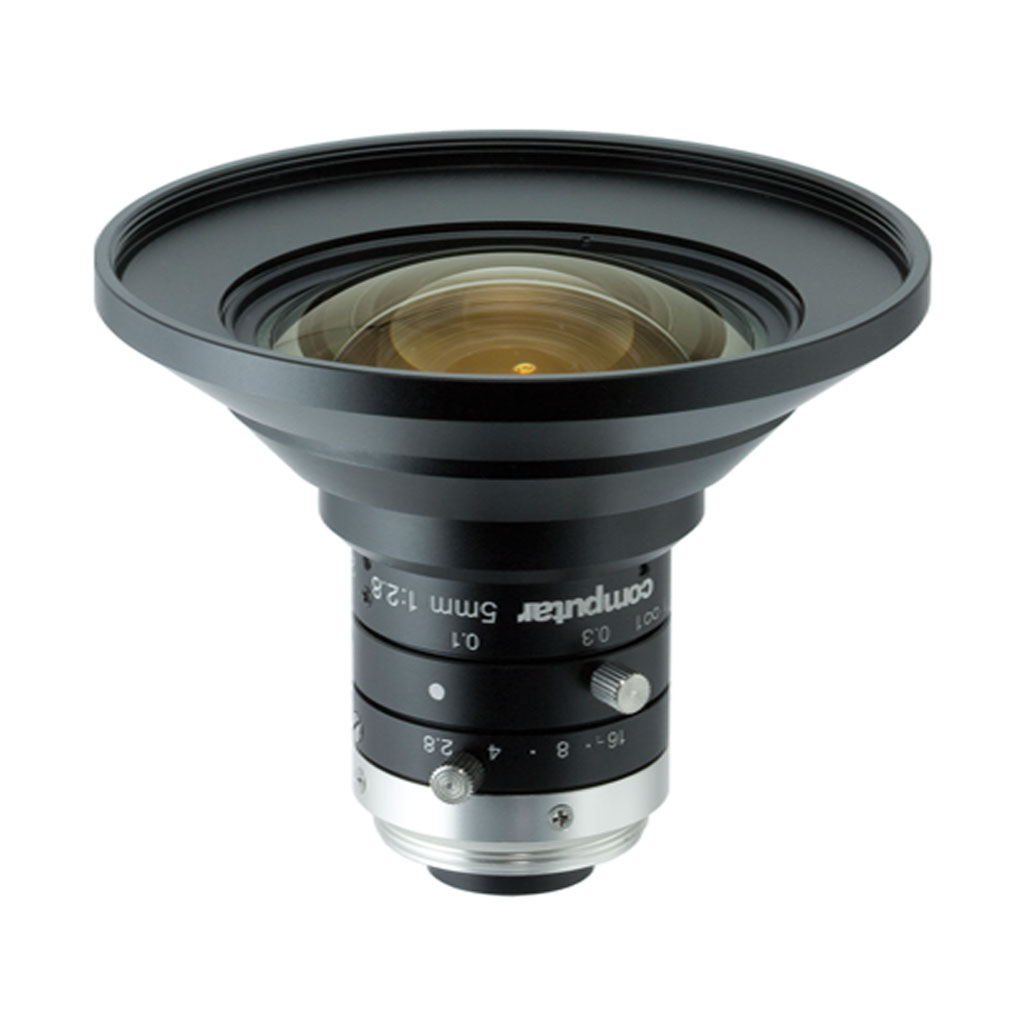 CS-Mount & C-Mount
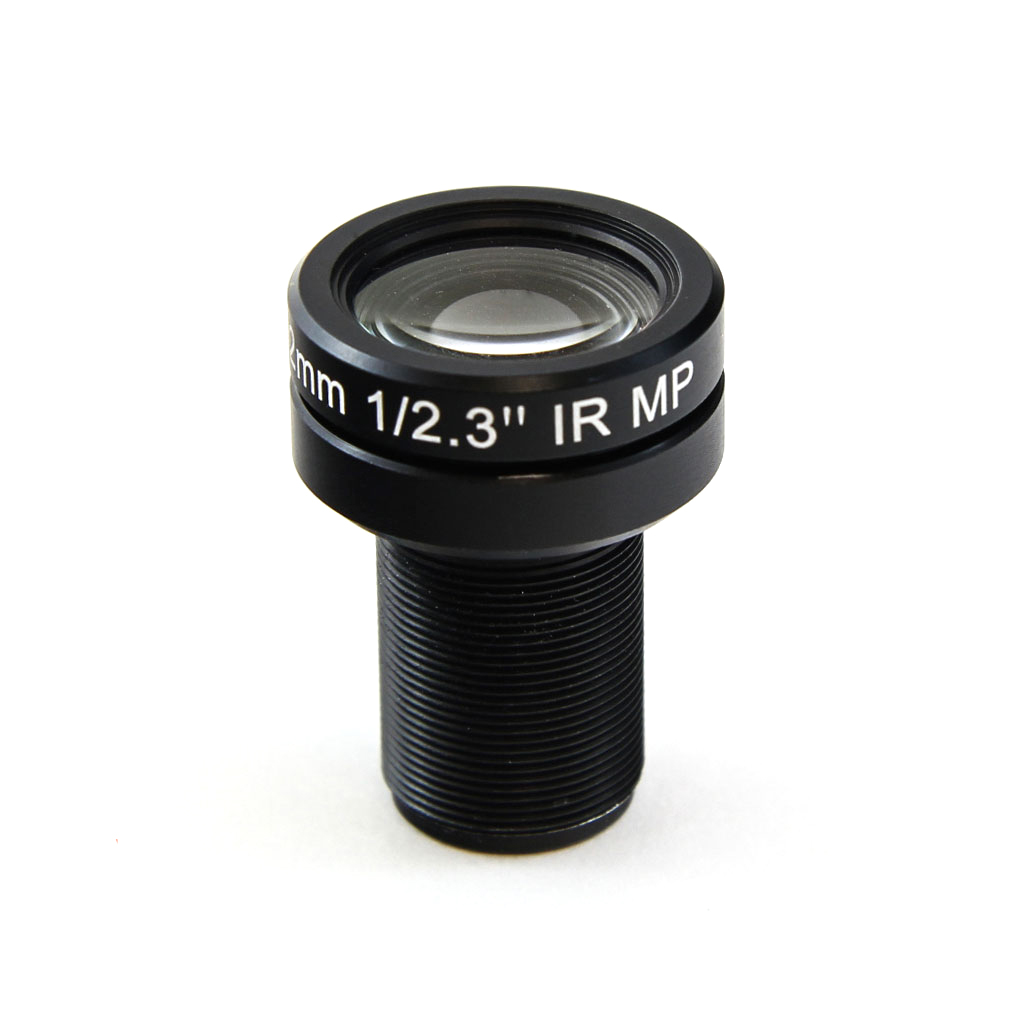 M12
M12 Insta360 ONE R 1-Inch / Ribcage RX0 II
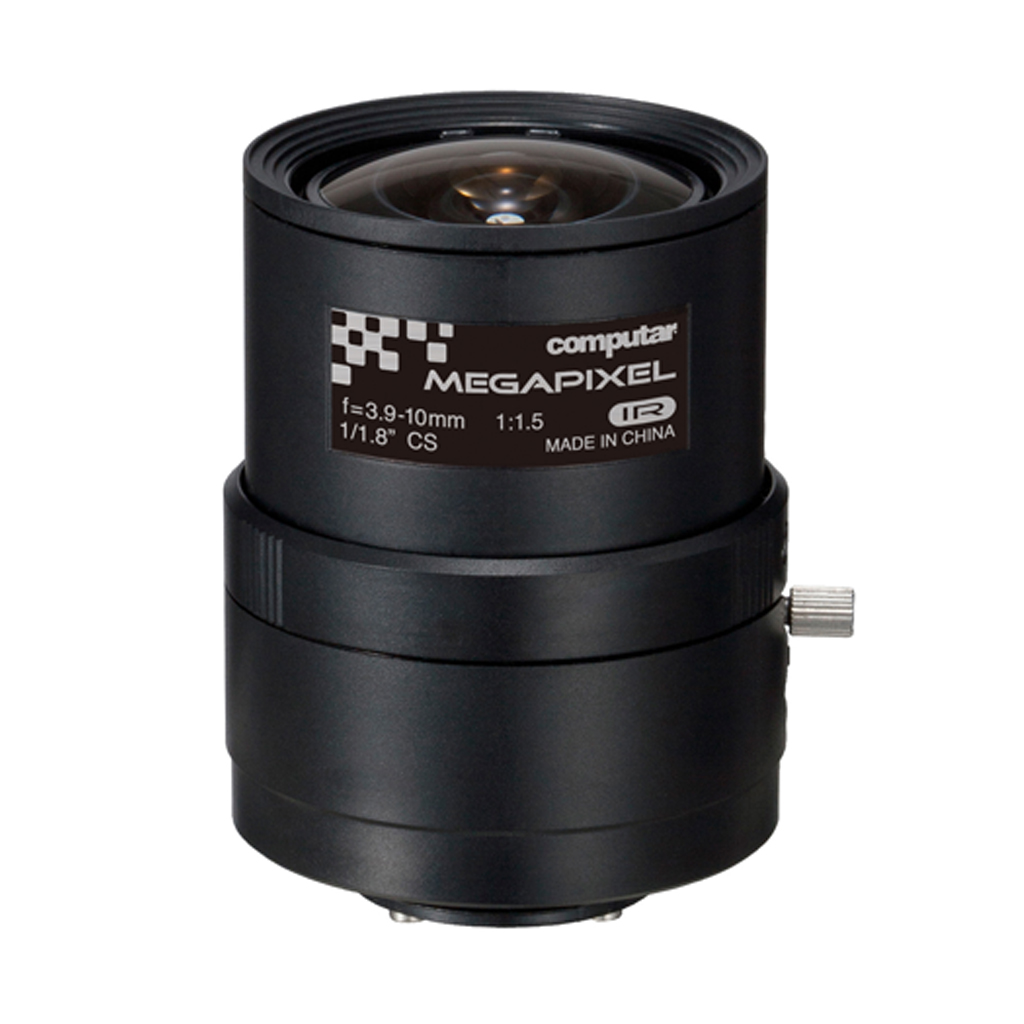 IR Corrected
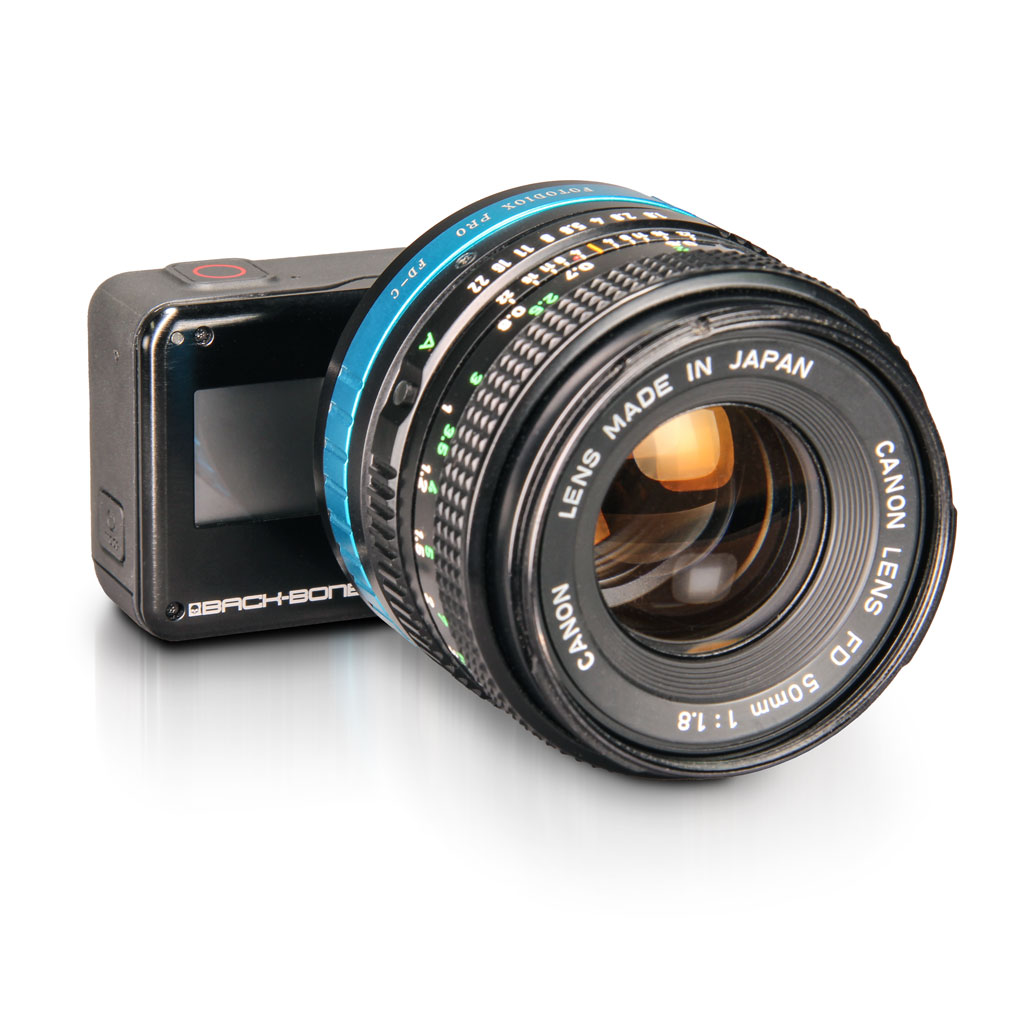 Adapters
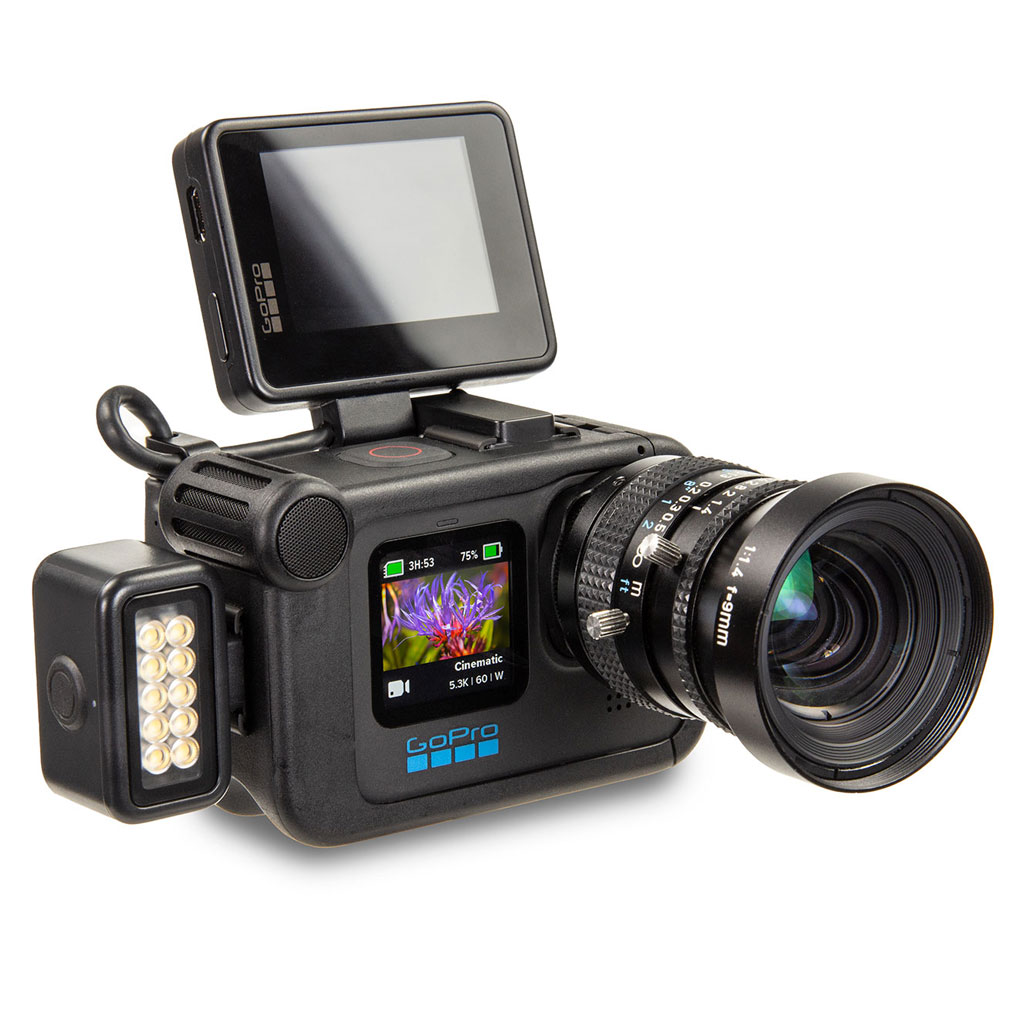 Accessories
 Filters
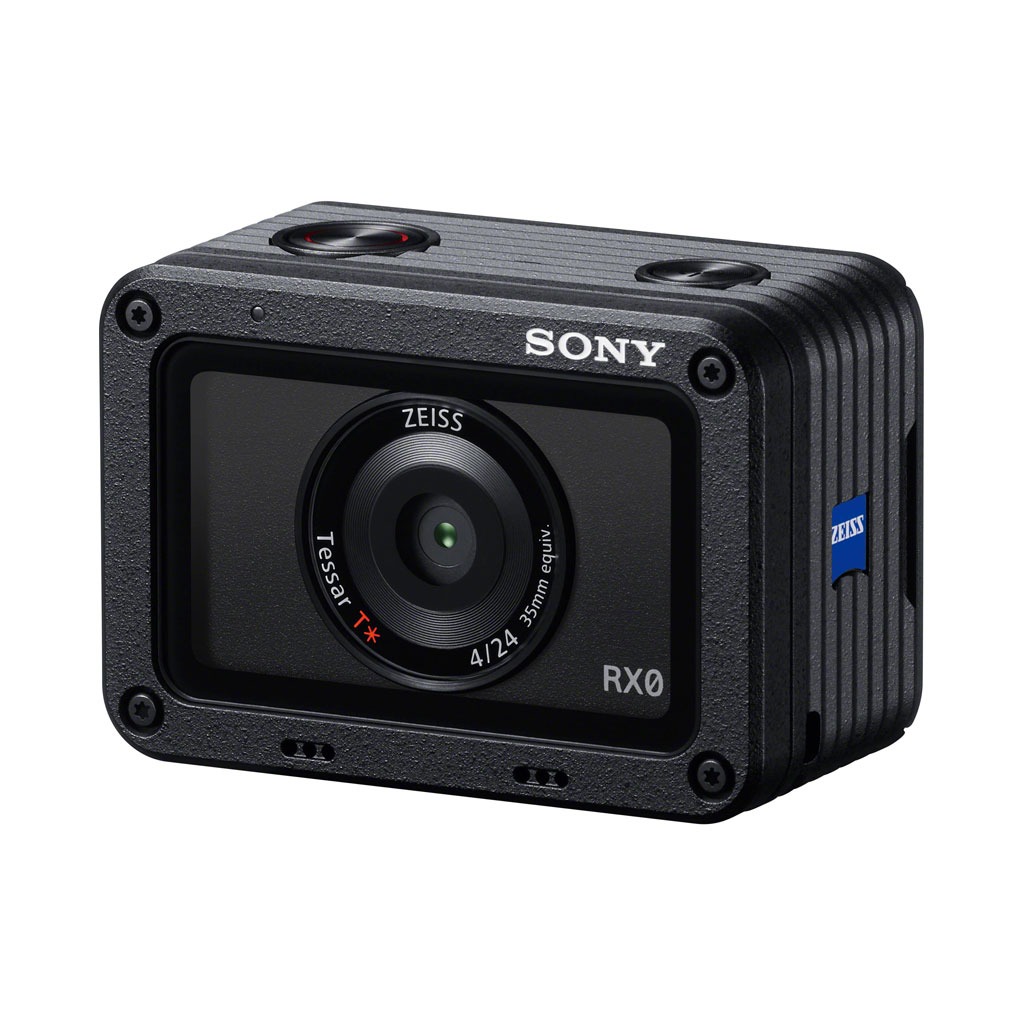 Sony
Sony GoPro
GoPro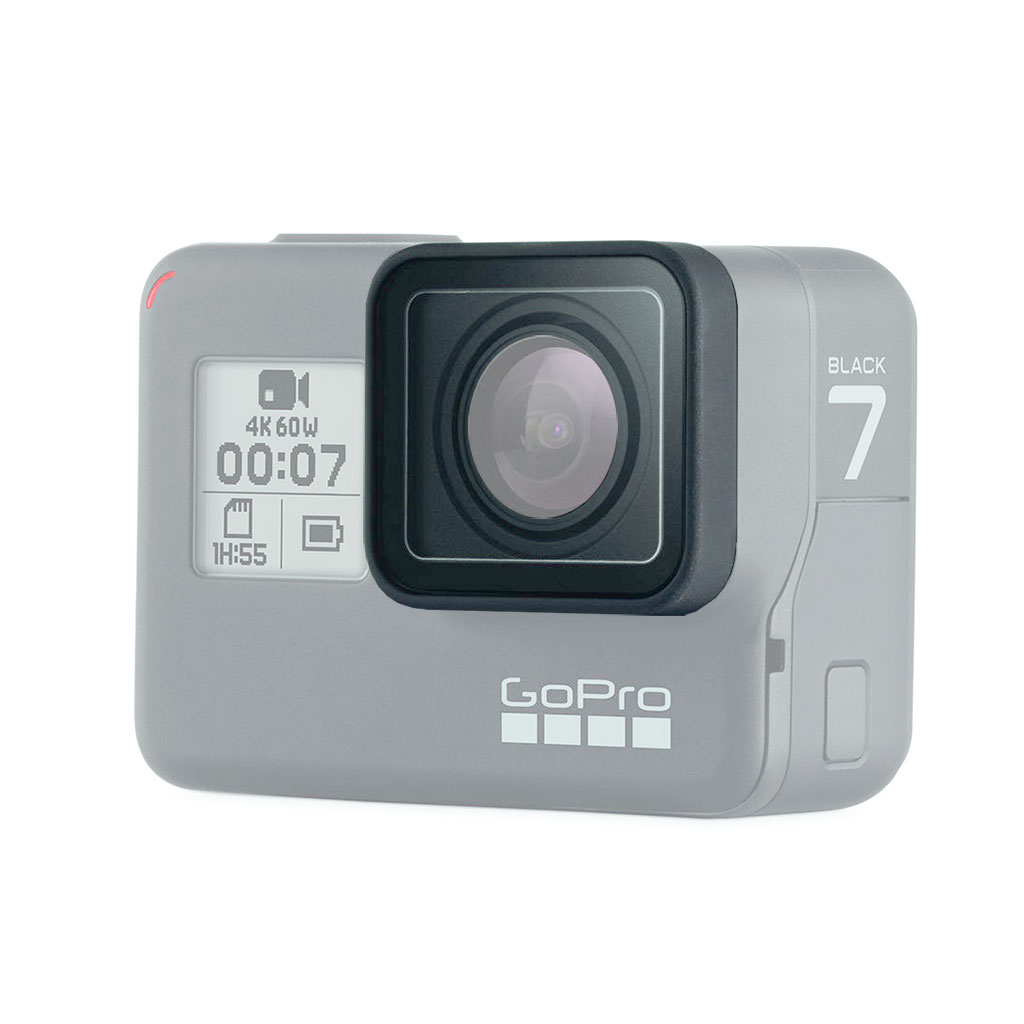 Replacement Parts